How I made a Cosmic Coat using a heat press

It’s officially coat season! Winter is in full swing here in the UK but that doesn’t mean your clothes have to stop being colourful. I’ve seen so many black coats around London this season and I can’t help thinking why don’t people make them look more stylish, appealing and joyful by adding some personalisation and colour?

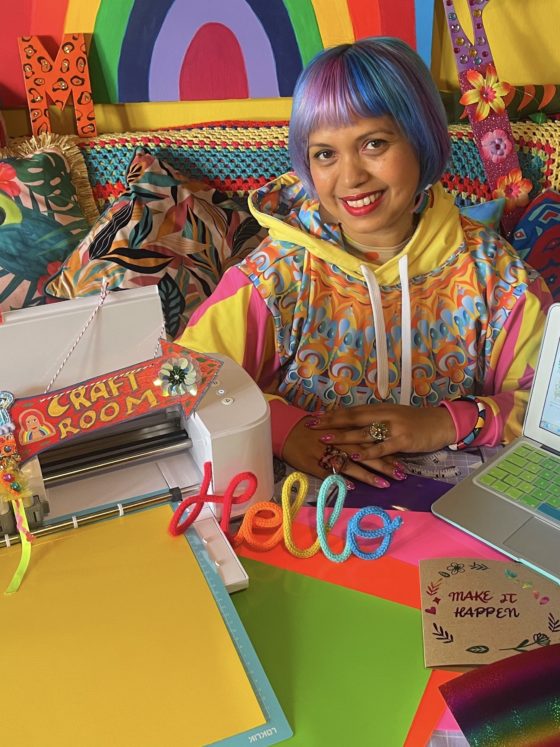
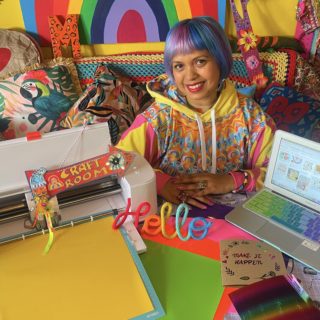
Using a heat press is an easy and affordable way to customise your clothes in a professional way. I recently got a LOKLiK ImPress Easy – it’s a heat press machine that’s part of the LOKLiK family of craft machines. In a previous blog post I showed how you can use a LOKLiK Crafter cutting machine to make colourful DIY crafts – well this time I’ll be showing you how to do the same on fabric using a heat press.
What is a LOKLiK ImPress heat press and how can you use it to customise your clothing?
I’ve tried different techniques to customise my clothes to give them an individual, creative touch. From hand-sewing on trims to machine applique, cutting and manipulating the fabric, adding patches to embroidery and fabric paints. Using a heat press is probably one of the easiest methods there is. It’s quick to do and the results look so professional your crafts look shop-bought.
What is a heat press?
A heat press is similar to an iron but it reaches a higher temperature and has a wider surface making it ideal for using with heat transfer fabrics to make your own custom-fabric designs.
Heat presses are used widely in the fashion industry to create logo t-shirts and other clothing that has motifs on. Industrial heat press machines are best if you have a fashion business and need to make regular large volumes of garments.
If you’re a hobby crafter or small business owner then a smaller model like the LOKLiK ImPress Easy is all you’ll need. There are two sizes, 10-inch and 12-inch. I have a 10-inch one and it’s great for covering surfaces like a tote bag. If you’re doing smaller transfers on items like canvas shoes you may prefer to get their LOKLiK ImPress Mini which is easy to store and so small in size it’s even travel friendly!
TUTORIAL Using a heat press – a guide to the LOKLiK ImPress
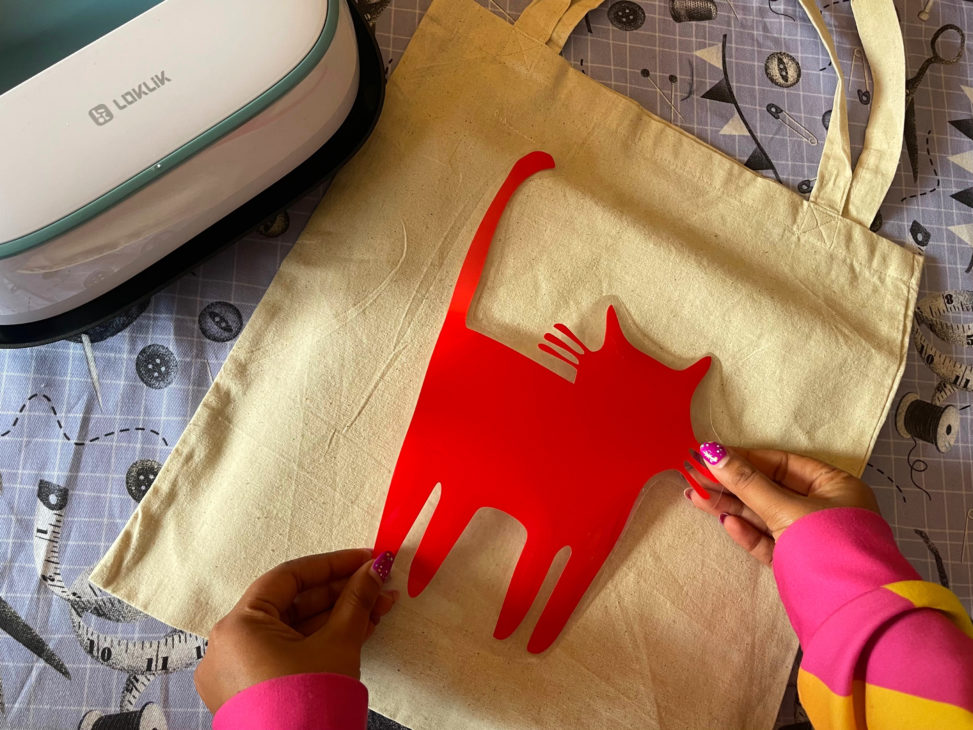
For this craft tutorial, I’ll be showing how to do a heat transfer on a plain cotton tote bag.
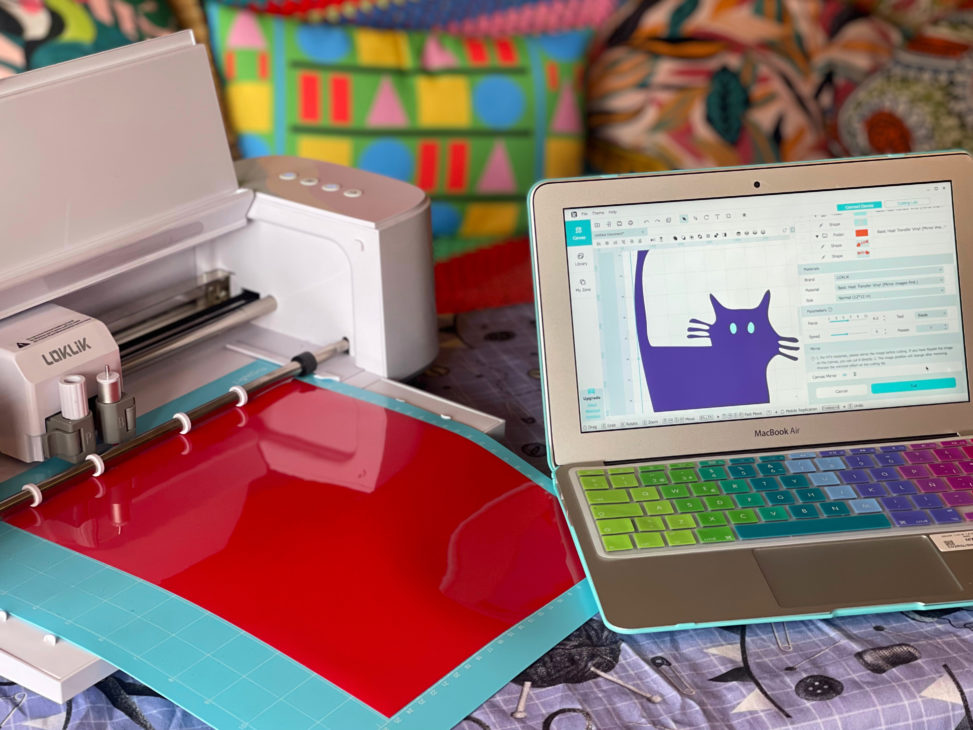
Start by choosing the design that you’d like to transfer and the surface you want to transfer it onto. I chose a cute cat and a plain tote bag. I found this cat motif in LOKLiK Craft Studio, a software that gives you free access to images that comes with the LOKLiK Crafter cutting machine.
If you don’t have a craft cutting machine you can cut out shapes by hand but a cutting machine, like LOKLiK, or Cricut will be much easier. Cut out all the motifs you need for your design, in this case, the cat, some fish bones and some text.
TOP TIP: When you use Heat Transfer Vinyl (HTV) with a craft cutting machine there are two important things to remember. 1. Reverse your design (unless it’s symmetrical) before cutting. 2. Always place your vinyl colour/pattern side down so that you’re cutting through the back of it.

Heat press vinyl is much easier to weed than adhesive vinyl as it’s much stretchier. You may find that using your fingers is enough to pull away the parts of the motif that you don’t need. Or you can use a weeding tool to help you lift. Once it’s slightly lifted you can pull away the excess vinyl leaving your design behind.
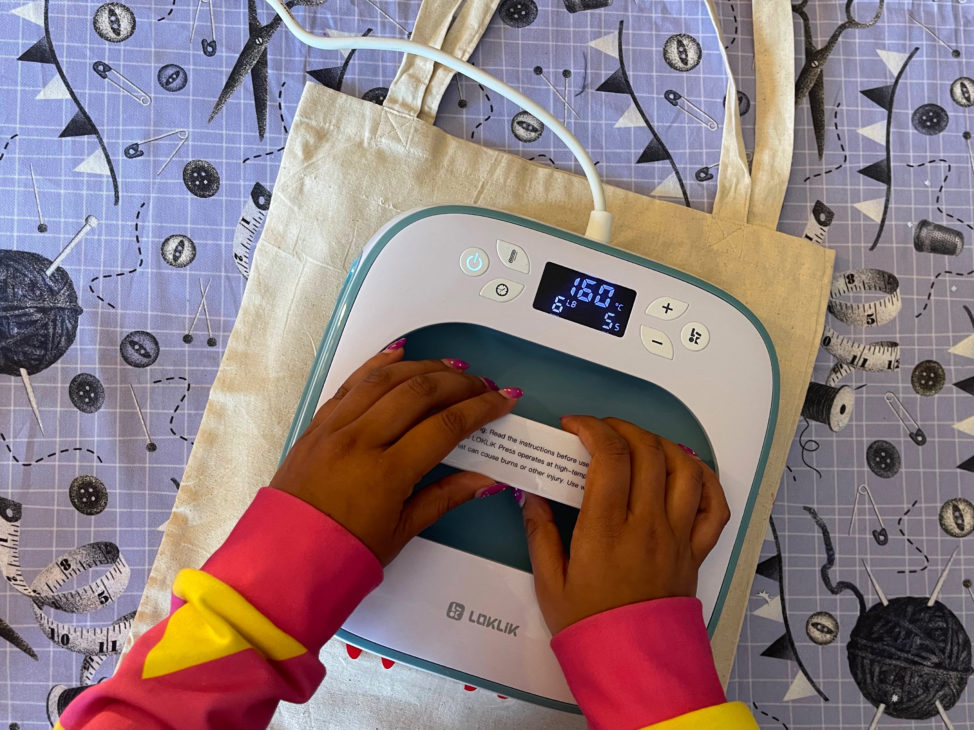
When you first turn on your LOKLiK Impress you need to adjust the temperature button and the timing. The guidebook that accompanies the heat press lists the temperatures and times for most fabrics.
Start with these but adjust as needed. For my tote bag, I first set it to 160 degrees and 15 seconds. This was a little too low so I did it twice, for a total of 30 seconds and then the image transferred perfectly to the fabric.
I prefer this method, starting cooler and building the heat up. If you begin with a temperature that’s too high it can end up being too hot which can discolour the fabric or singe your vinyl so be mindful to do some tests before working on a new type of fabric.
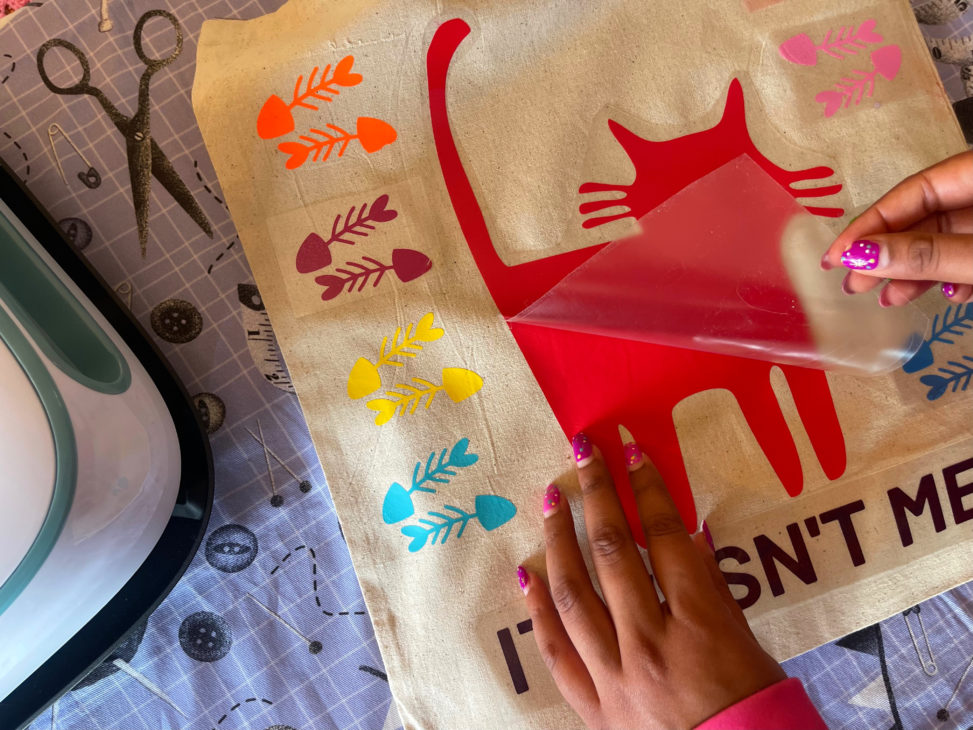
Once the image has transferred wait at least 45 seconds for it to cool down. Leaving it longer (even for a few hours) is fine too. Then with your hands carefully peel the top layer away, your motif will now be adhered to your fabric.
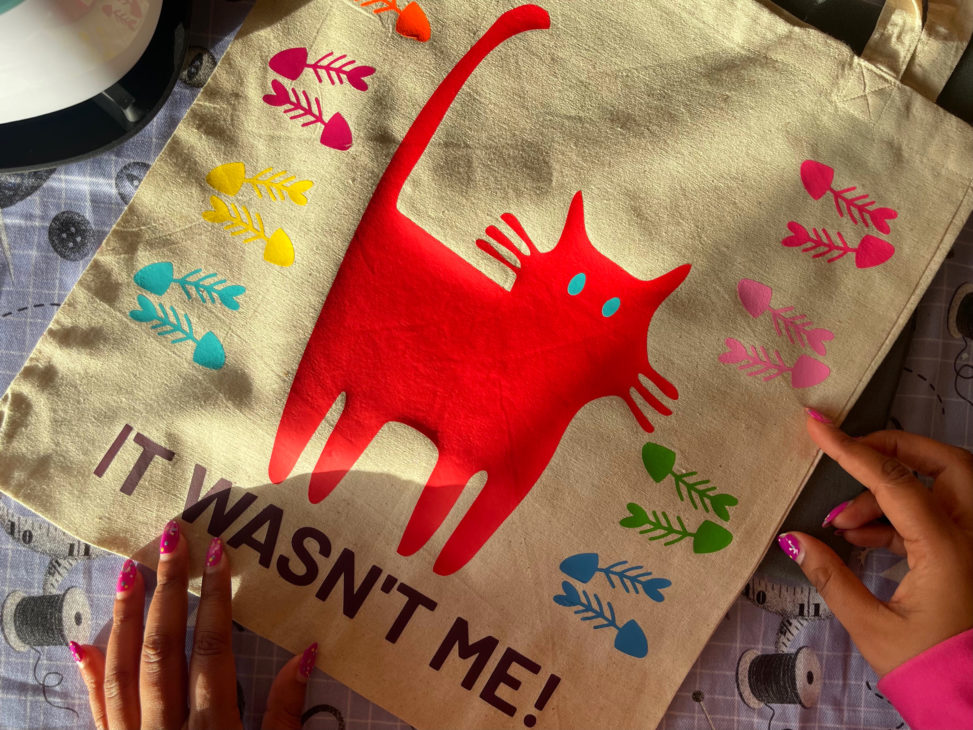
Personalised tote bags make thoughtful gifts that will always be appreciated.
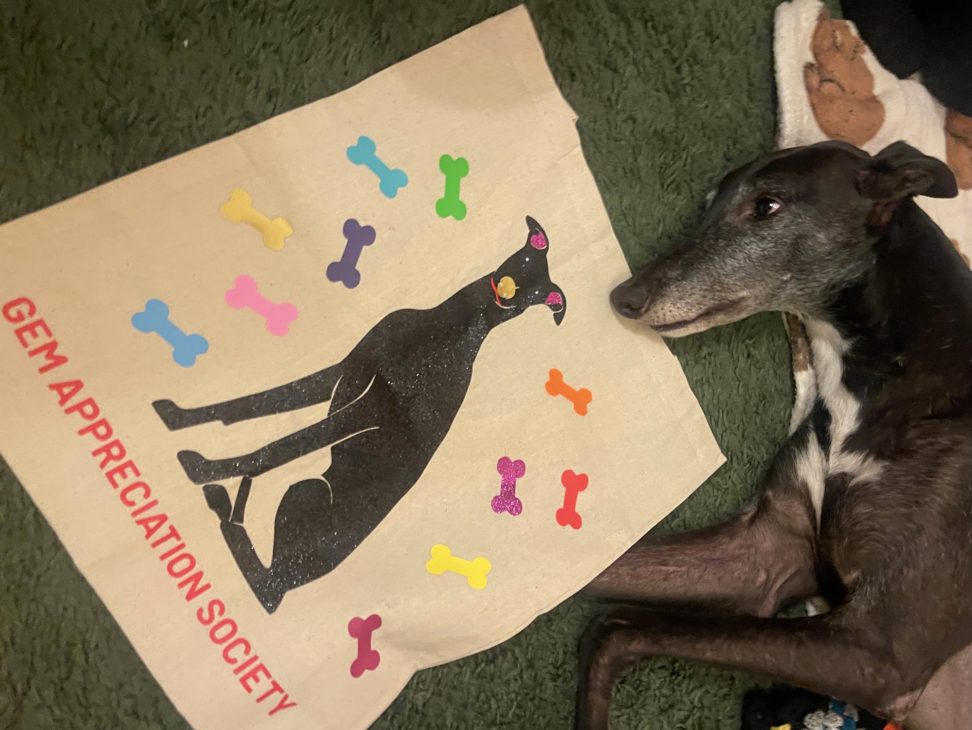
As well as this cat bag, I also made a dog design for a friend and his pet greyhound Gem seemed to approve of it!
Designing my Cosmic Coat using LOKLiK ImPress Easy
I bought the coat for this project from a second-hand shop and it was the perfect garment to breathe new life into by customising it with motifs.

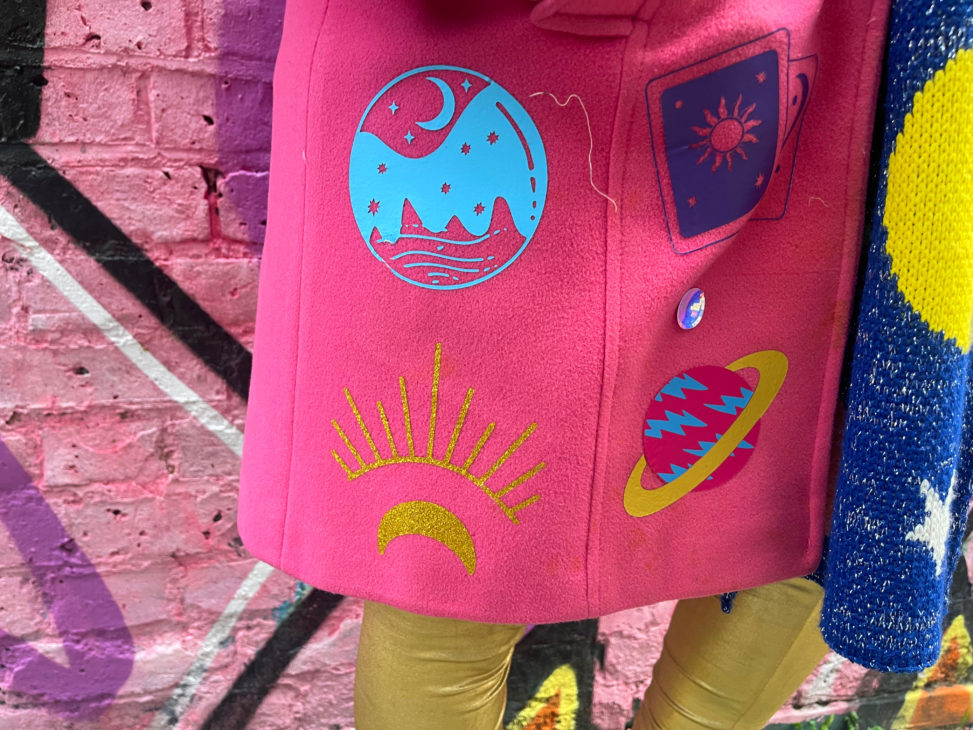
My inspiration was all things cosmology – stars, moons, crystals and even tarot cards. I found all of the images for free from the two graphics packages you get with LOKLiK products – LOKLiK Studio and LOKLiK Workshop.
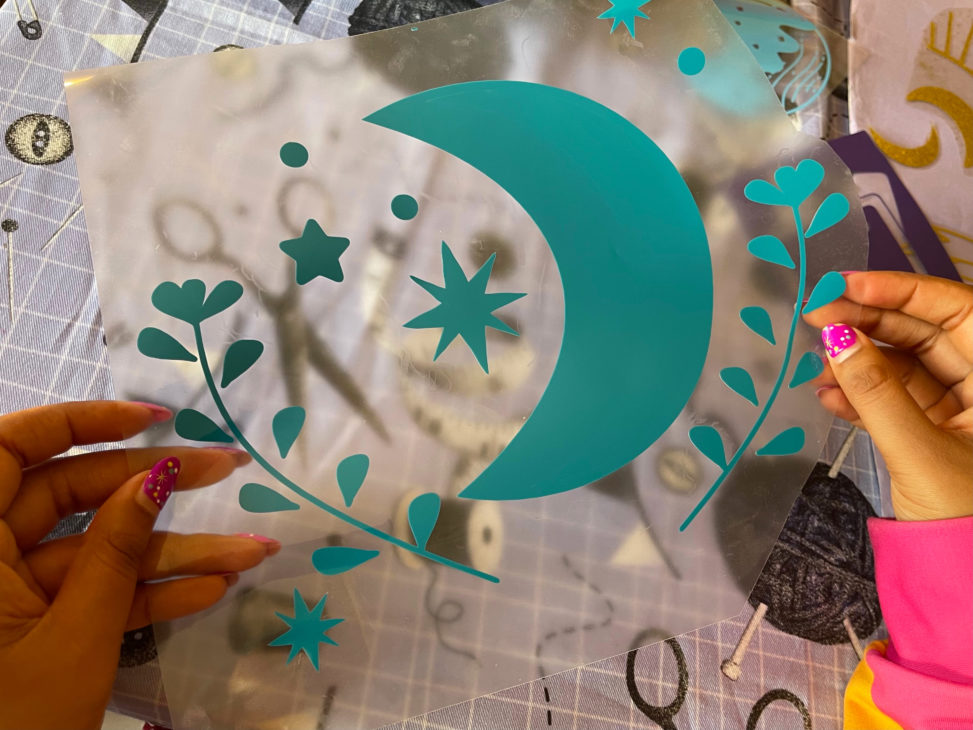
I started by re-sizing all the designs, individually cutting them out and then weeding them.
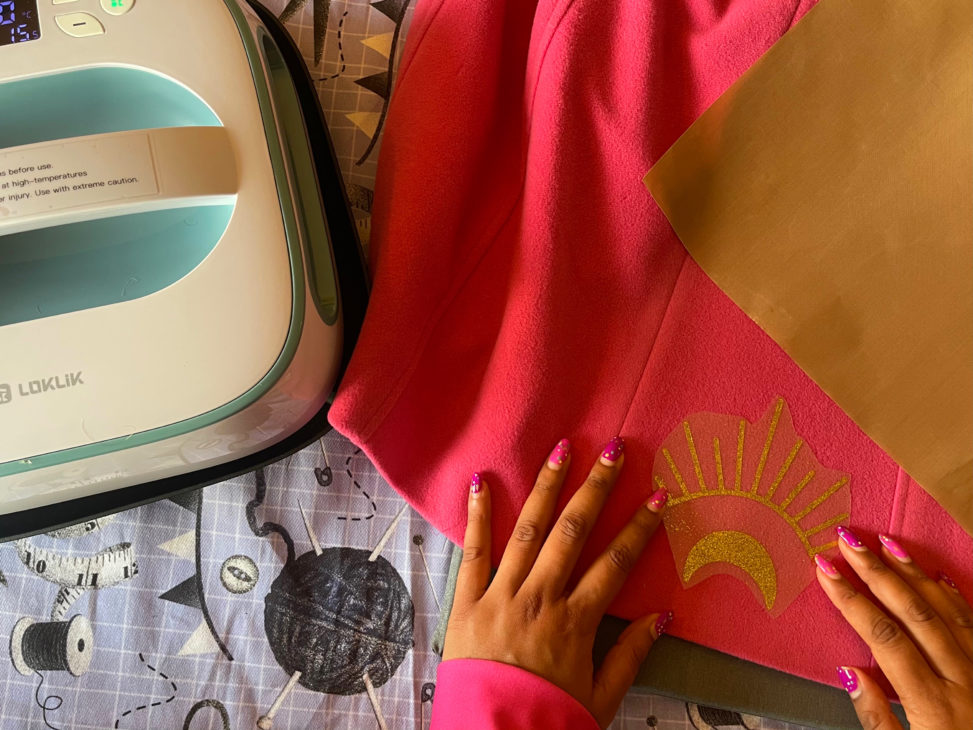
Using the heat press I then fixed each one onto my coat. It was such a fun project and very relaxing to do.
TOP TIP: Though most polyester is fine, avoid other synthetic fabrics as these are likely to melt with the heat press – for example, you can’t do a transfer on PVC as the fabric would singe under the heat. The best fabric is cotton or a cotton/wool mix.
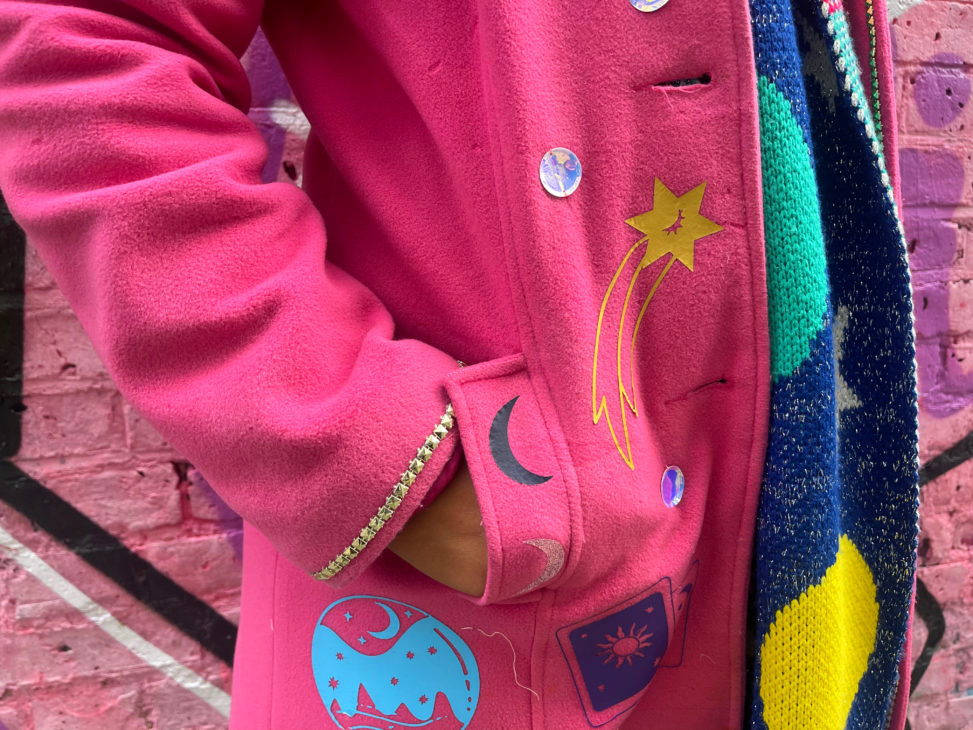
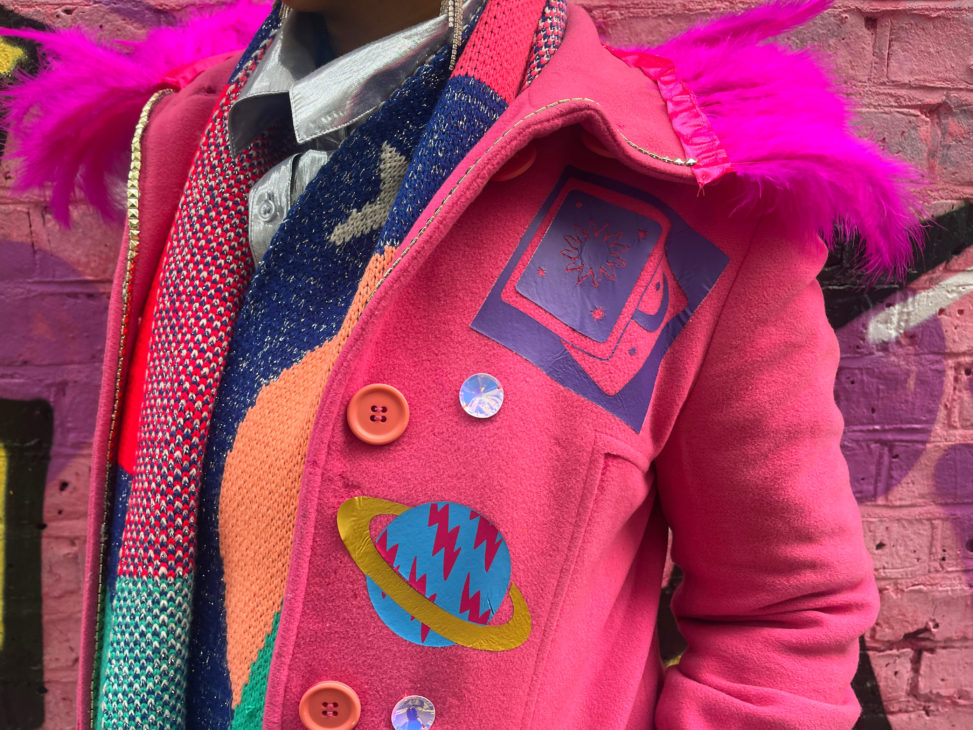
The final result!
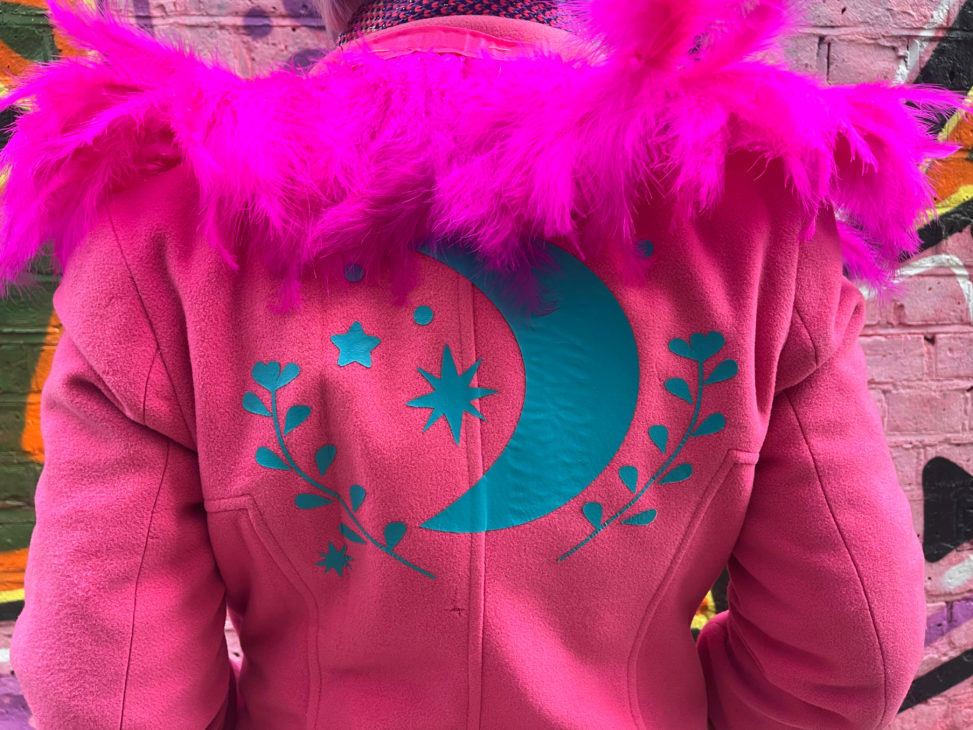
What do you think of my new coat? I further embellished it with feathers around the collar and stitched on some gold trim and large iridescent sequins. I wore my coat out straight away and it made me really happy!

Other ideas for using a LOKLiK ImPress Easy
You can use Heat Transfer Vinyl on so many different surfaces. Here are some other colourful fashion and fabric ideas
- Customise t-shirts for a group occasion like a hen party
- Personalise fabric favour bags for a birthday party
- Customise towels for a sports team
- Give a new lease of life to old clothes
Have fun customising your wardrobe using a heat press
I hope you like the projects I made with my LOKLiK ImPress Easy. There are so many fun crafts you can make using a heta press whether it’s for a hobby, making personalised gifts, or selling your own designs, perhaps on a website like Etsy or at a local market stall.
Don’t forget to follow me on Instagram for more inspiration on how to live a creative, colourful, crafty life.
Find out more about LOKLiK at www.loklik.com.
*This is a sponsored post, all views are my own.