How to make colourful DIY craft projects using a LOKLiK Crafter
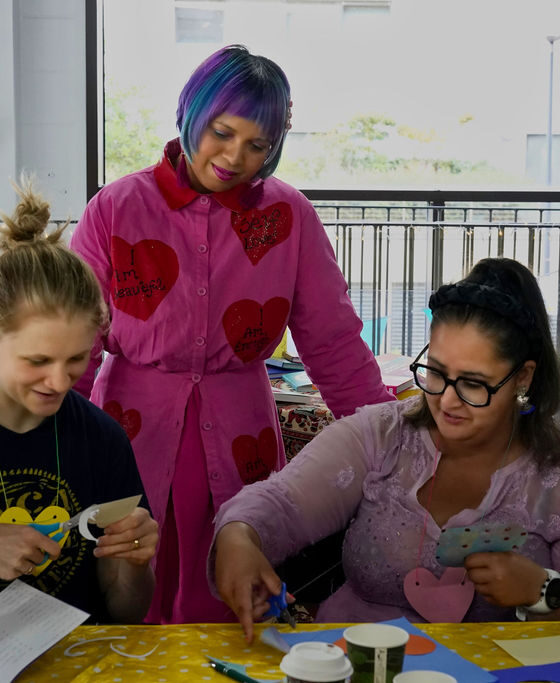
I’m so happy to be sharing my latest craft projects with you. As a creative enthusiast, I’m always looking for what colourful DIY crafts to try next. I enjoy making all kinds of crafts, but it can be time-consuming designing handmade cards and gifts from scratch. Cutting machines caught my eye when when I saw them being demonstrated at craft fairs. The professional finish they give handmade projects blew me away.
Since I’ve had one, it’s changed my creative life. Craft cutting machines take away the pressure of designing, which is great for busy people like me. But you still get the same pleasure of creating something handmade; it’s just quicker, easier and looks more impressive. There are a few craft cutting machines on the market (you may have heard of Cricut) but I chose a LOKLiK Crafter.
What is a LOKLiK Crafter and how can you use it to make colourful DIY crafts?
The LOKLiKCrafter is a craft cutting machine that can be used with a free graphic design software package (LOKLiKIdeaStudio) to create your own designs with words and pictures. These can be cut out and the motifs can be used in your own DIY crafts projects.
Typically, crafters, designers and makers use craft vinyl for cardmaking, clothing and gifts. Doing it yourself means you can personalise these projects too. There are so many ways a craft cutting machine can be used. Keep reading as I’ll be sharing some of my colourful DIY craft ideas below.
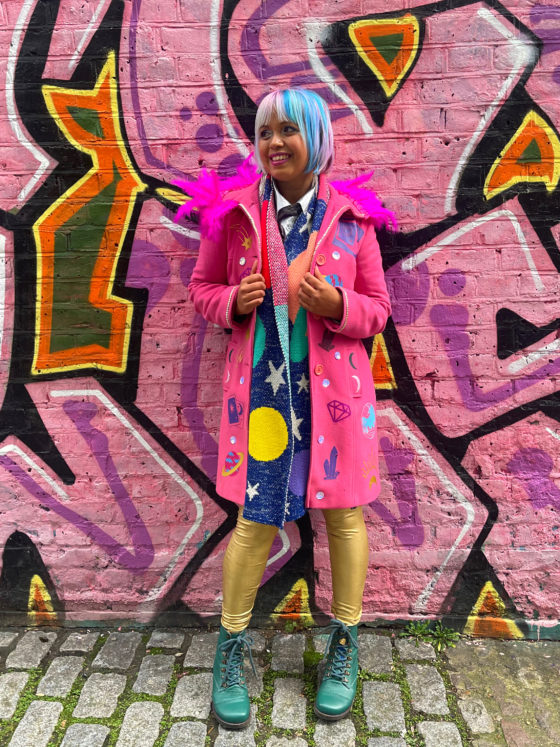
If you enjoy fashion and customising your clothes you can also use a LOKLiK Crafter along with their heat press, the LOKLiK ImPress Easy to apply designs to t-shirts, bags and garments making your wardrobe as colourful and unique as you. (This is my fave type of fashion, as you won’t see anyone else wearing it!)
But speaking of colour….
Choosing colour for your crafts projects
I think this is the most exciting part of a DIY craft project – deciding on the colours. Here are my two favourite ways to do this.
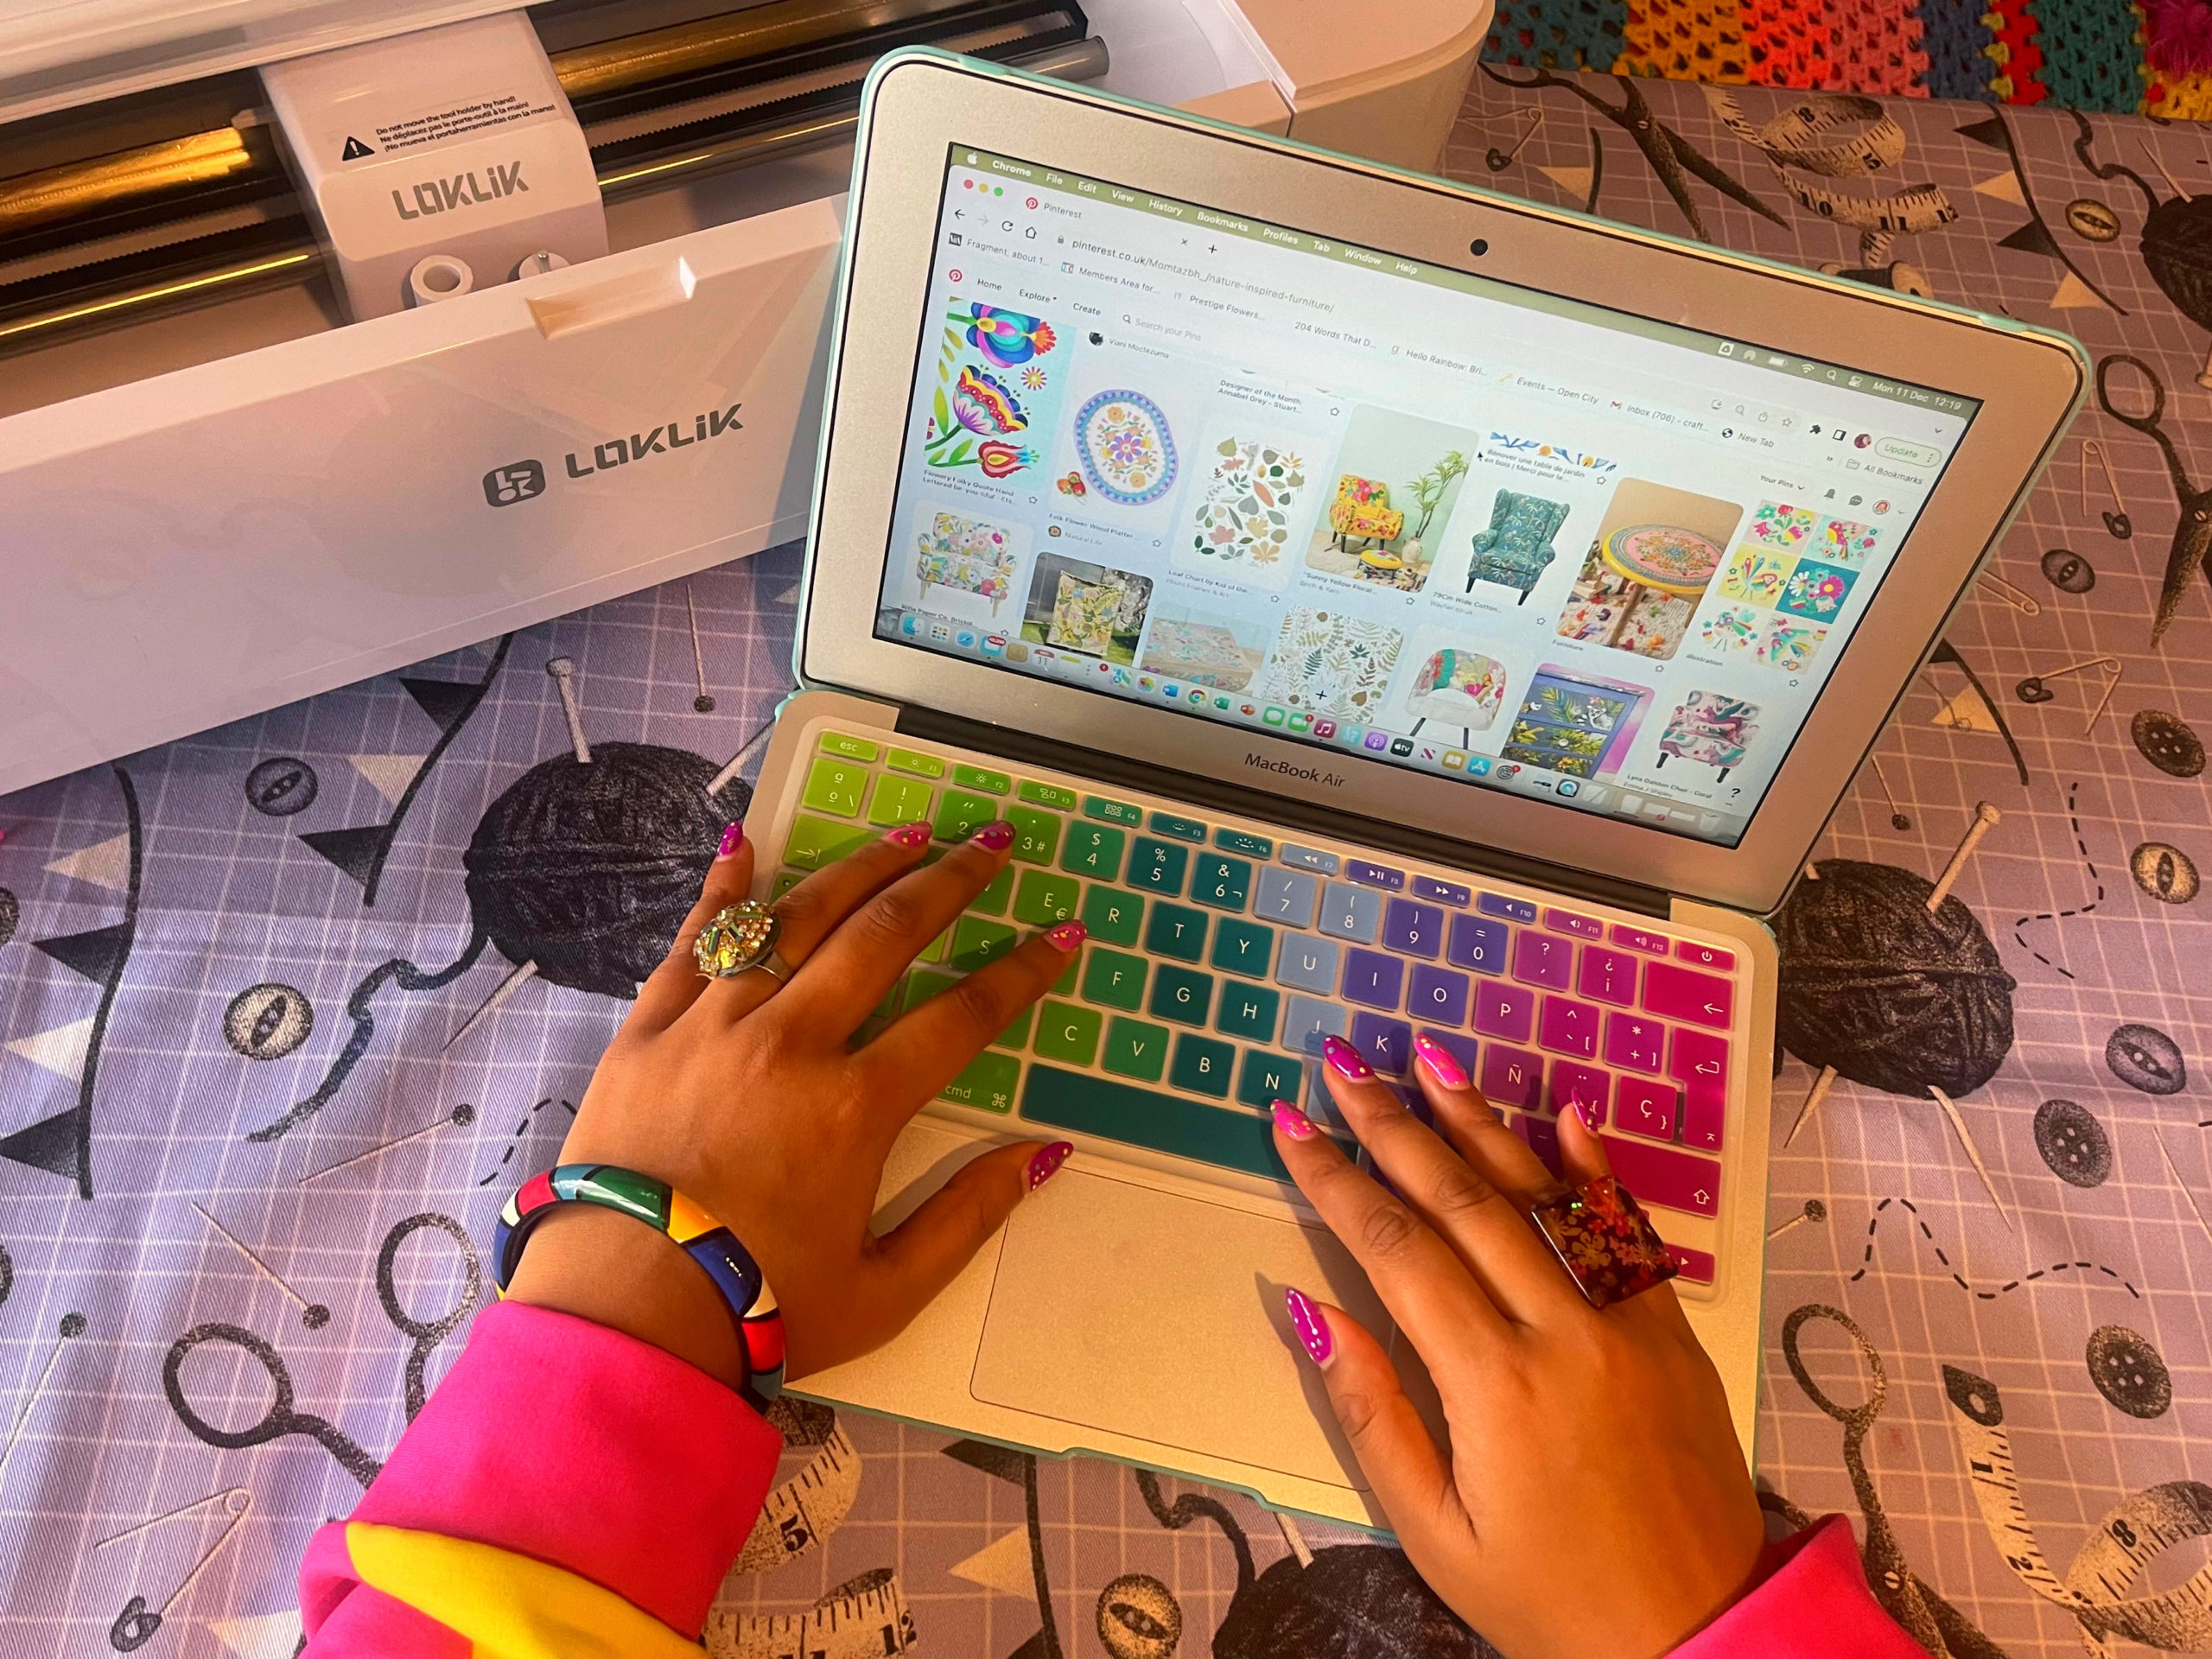
Create a mood board
Cut and stick pages from a magazine into a sketchbook, or create a digital mood board using Pinterest. These can be made public or private and you can even share them with people through a link, which is perfect if you’re collaborating on a project.
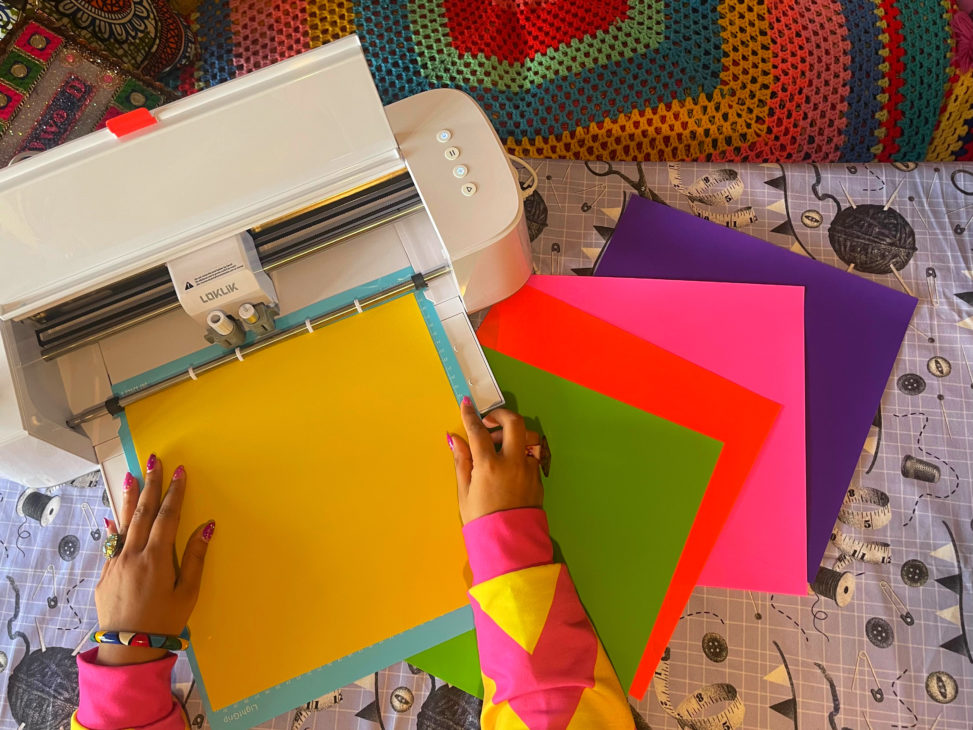
Look at your craft materials
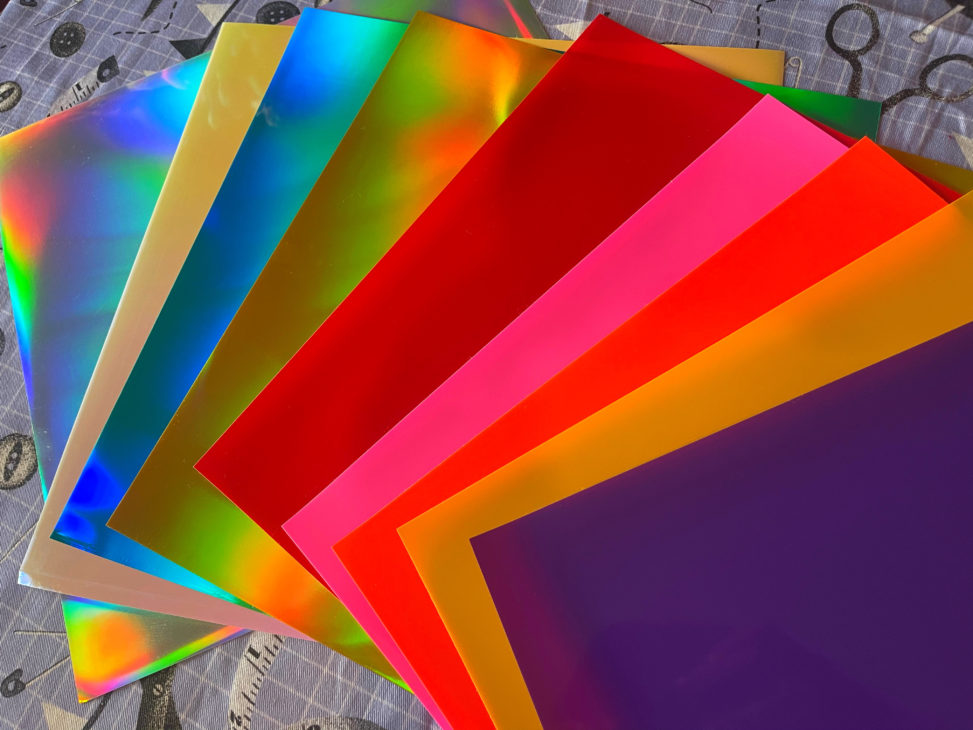
The colours of your materials are also an inspiring starting point, especially when it comes to craft vinyl. There are two main types of vinyl:
Heat Transfer Vinyl (HTV)
This is for putting your designs on clothing and fabric. I’ll be showing you how to do this in a separate blog post about DIY Colourful Fashion. In this post, I’m focusing on adhesive vinyl for non-fabric surfaces.
Adhesive Vinyl
You can use this type of vinyl on non-fabric surfaces like card, wood and plastic.
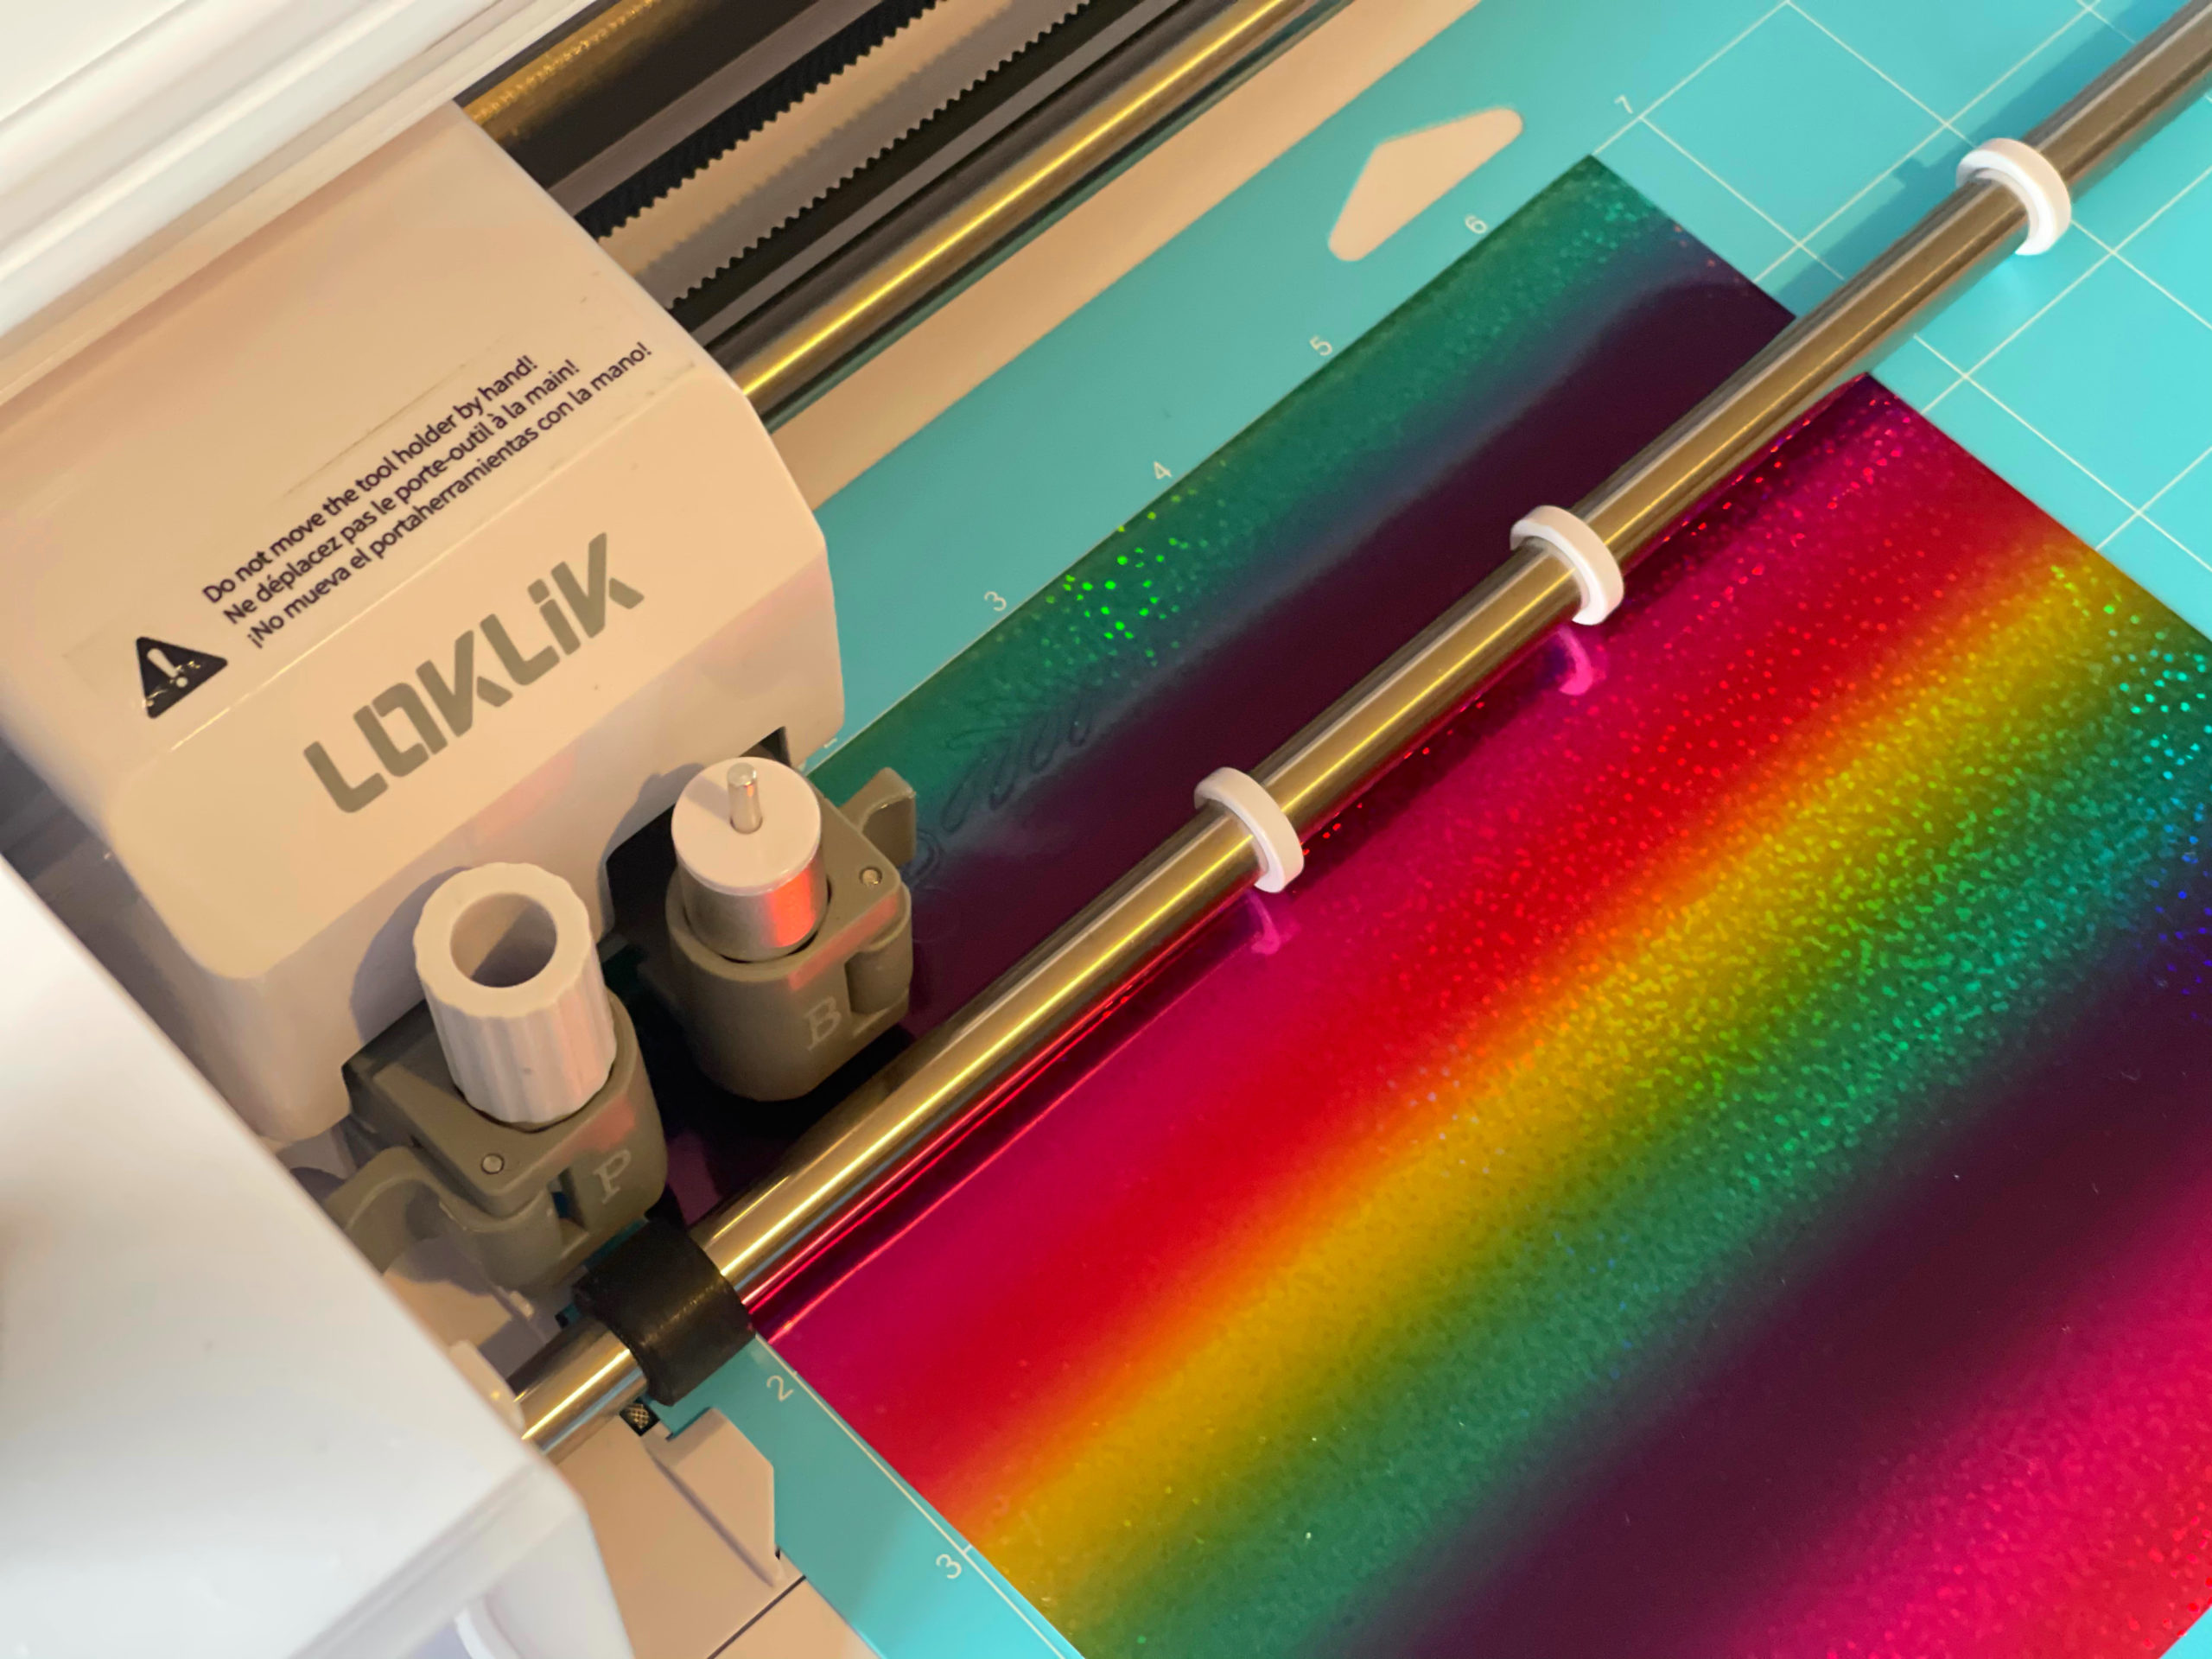
When I first saw adhesive metallic rainbow vinyl I knew it would be perfect for a greeting card – so the vinyl was my starting point.
Let’s get started!
Here are some of the projects I’ve made so far with my LOKLiK Crafter: a greeting card, a notebook and upcycled furniture.
Why not have a go yourself? Here’s how I made them:
PROJECT 1 PAPERCRAFTS:
How to make a card using a LOKLiK Crafter and LOKLiK Studio
What you need:
- LOKLiK Crafter (and mat)
- LOKLiKIdeaStudio (free download)
- Self-adhesive vinyl of your choice (I used rainbow)
- A card blank (6-inch brown square card)
- Scissors
- Clear transfer vinyl (optional)
Instructions:
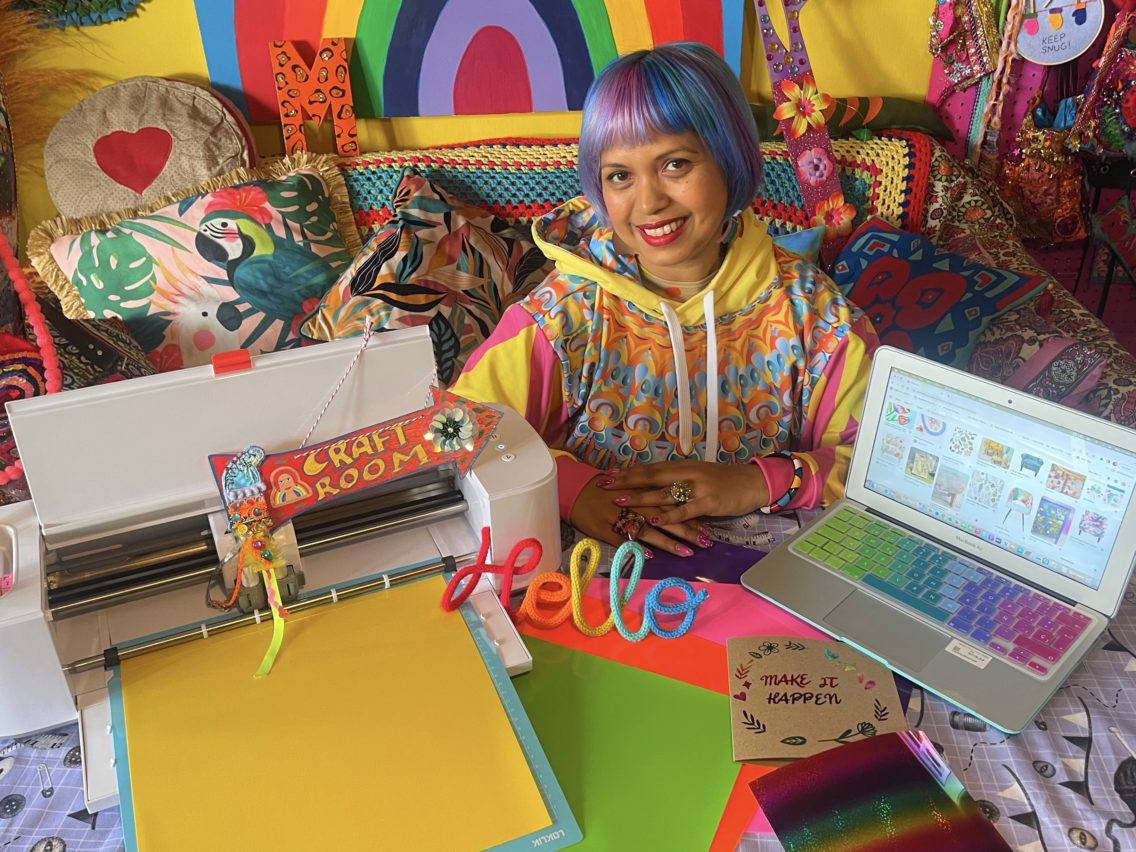
1. Open up LOKLiKIdeaStudio (either on a desktop or mobile app version.) For these projects, I used the desktop version on my laptop.
2. Check you’re happy with the measurements. The software automatically opens at millimetres however I prefer inches, so I changed it.
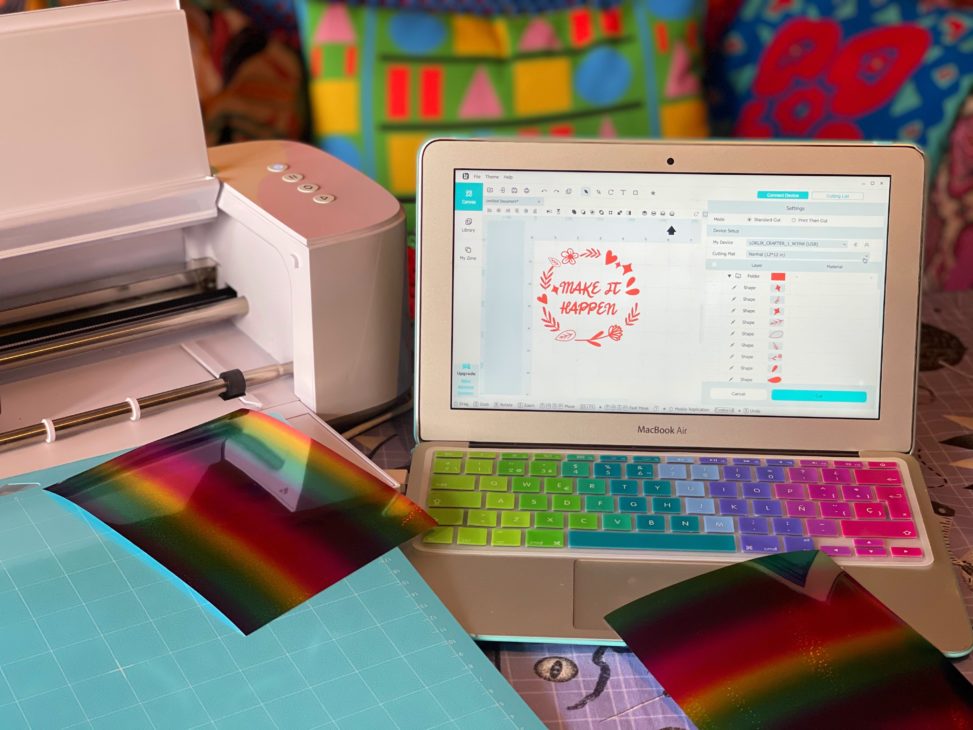
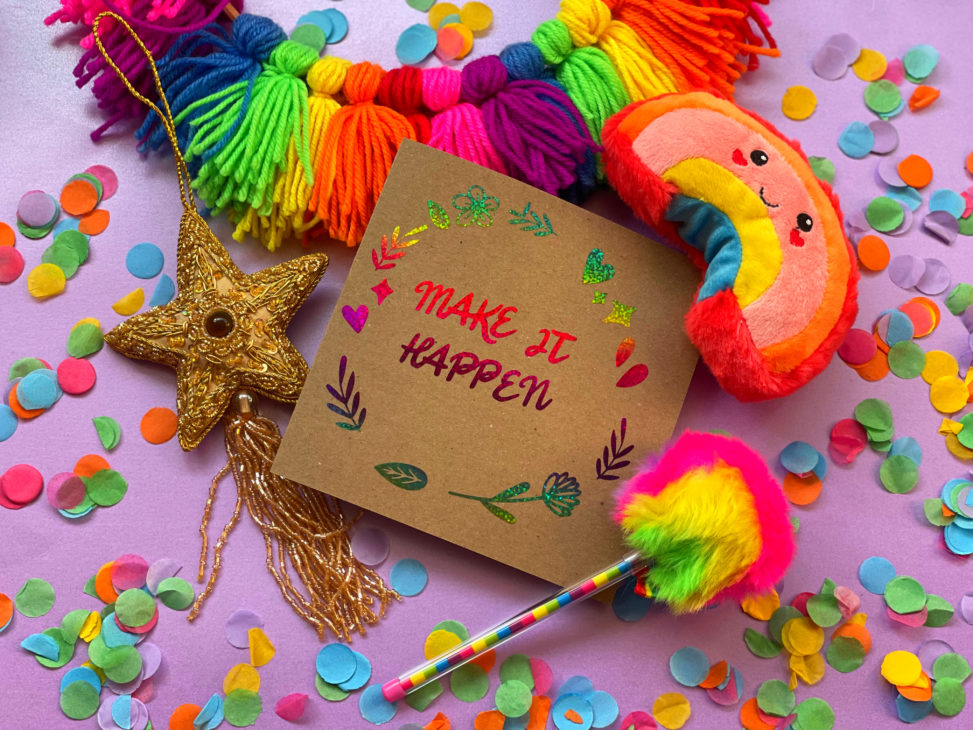
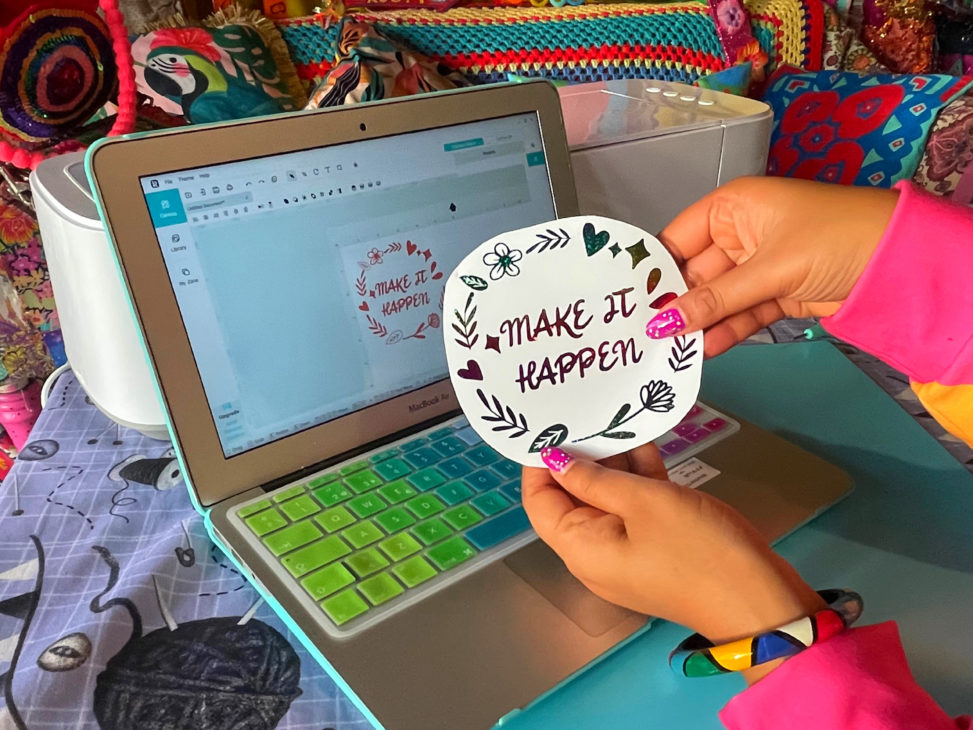
3. Choose a design by going through the LOKLiKIdeaStudio Library. I like positive, motivational messages so I chose this flower wreath with the words Make It Happen. I re-sized it to 5-inches, so it fit on my 6-inch card.
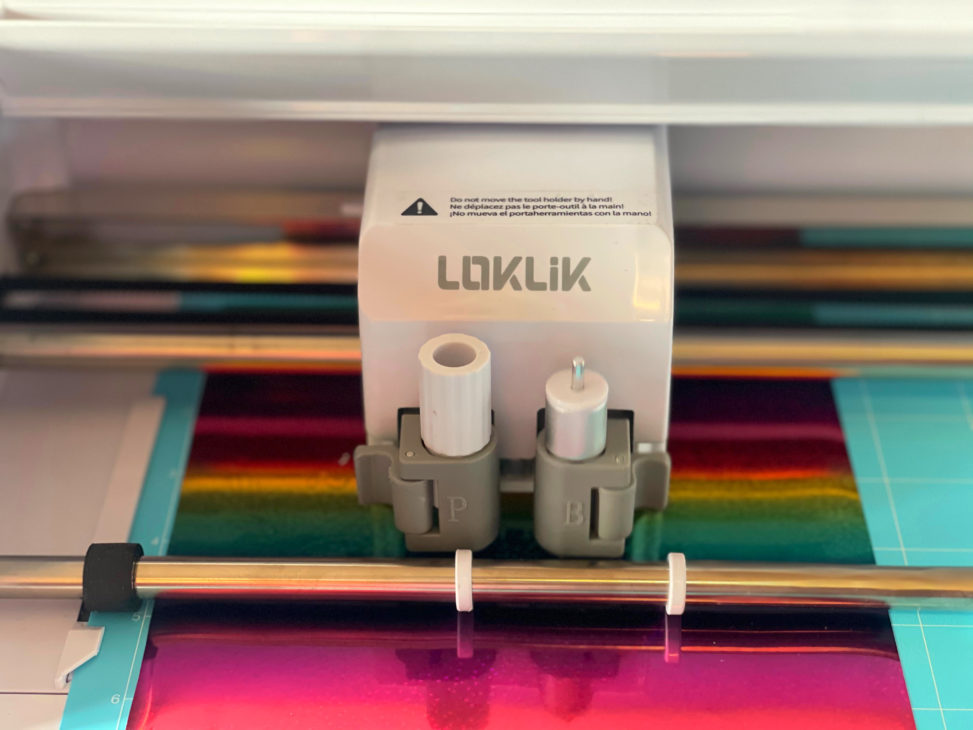
4. Then it was time to cut. You can connect your vinyl to your LOKLiK Crafter by Bluetooth or a USB cable. Lay the vinyl on the cutting mat, colour/pattern side upwards. You don’t need to place a whole sheet, just cut what you need. There’s no need to mirror or reverse the design for most adhesive vinyl, however, check the instructions on the packaging as some brands may differ. Depending on the size and intricacy of the design, the time it takes to cut out varies. This design took 3min and 24 seconds.
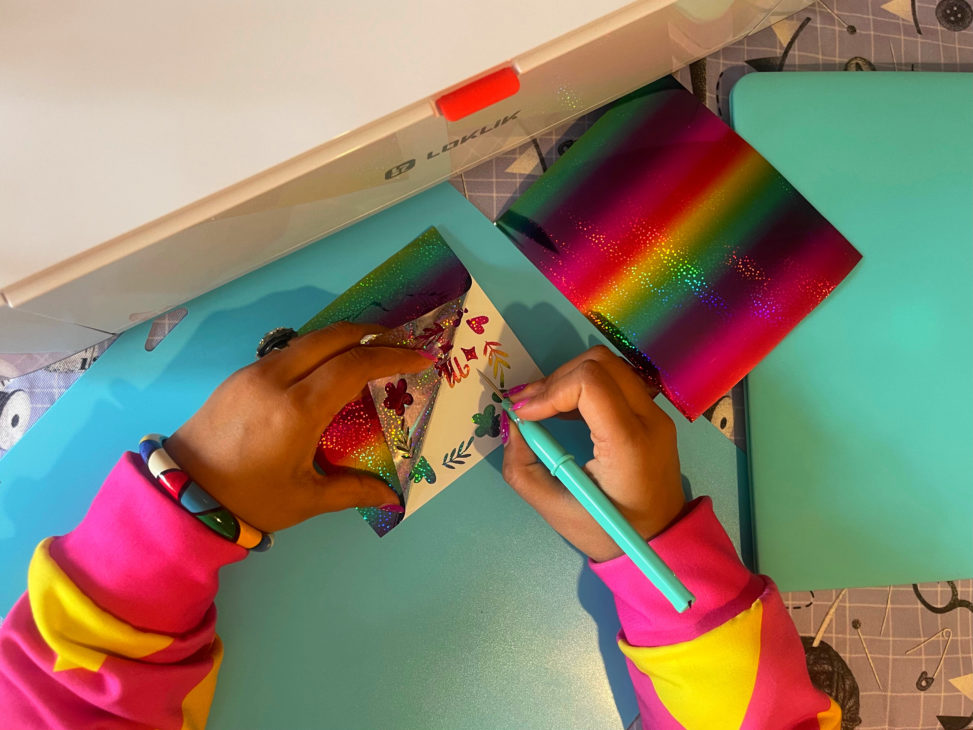
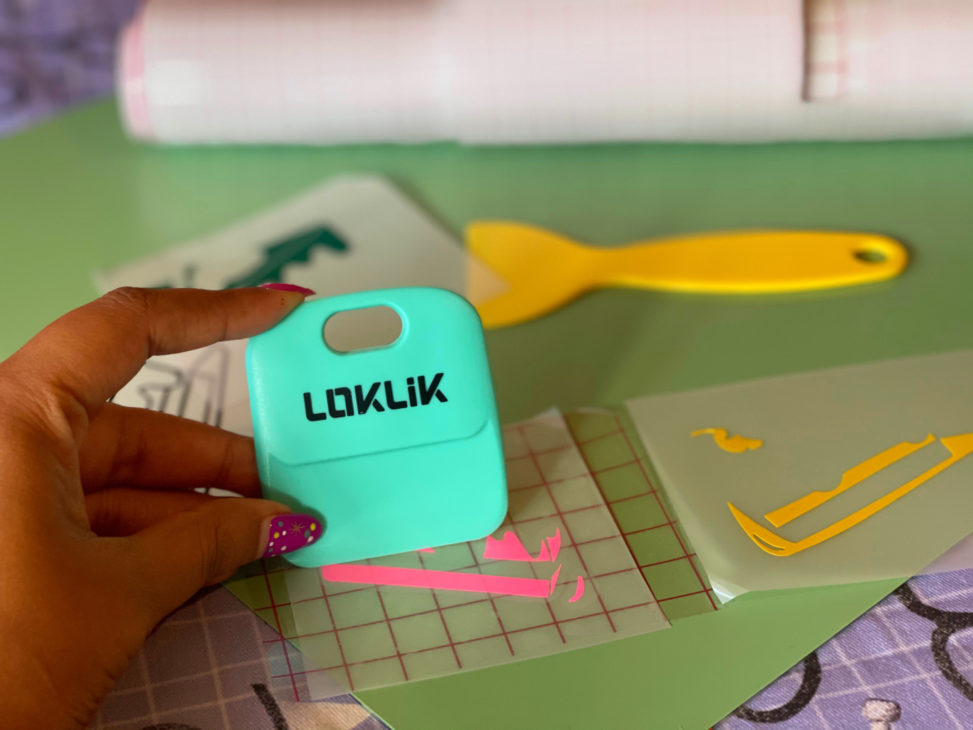
5. Once it’s cut out, peel away the excess vinyl to reveal the design. The weeding tools which come with your Crafter can help you do this. They’re especially useful for pulling out big areas.
6. Your pieces will now be stickers. You can peel them off the backing and stick them straight onto the surface of your choice, in this case the card.
TOP TIP: If your stickers are tricky to peel off, use vinyl transfer tape to help you. This is a clear sticky roll that can be applied on top of your designs. The stickers then adhere to the surface of the transfer vinyl and you can then transfer it onto your chosen surface. It’s a useful technique for words, details and layered designs which I’ll be showing next.
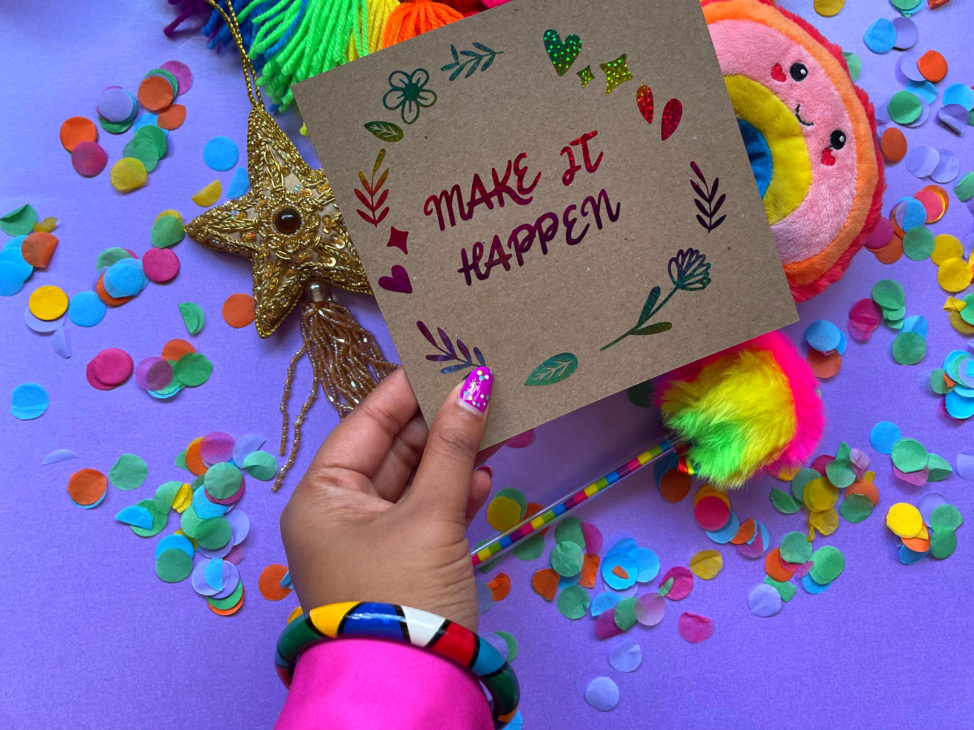
I love the final card as the choice of rainbow vinyl makes it looks so magical. It’s amazing to think it was all done on a cutting machine with no printing required.
Other ideas for colourful DIY papercraft projects using LOKLiK Crafter
Cards are a great project for beginners, but here are some other ways you can use a craft cutter to make colourful DIY crafts projects:
- Personalised gift tags
- Party invitations
- Writing paper for letters
- Artwork
- Bookmark
PROJECT 2 GIFTS: How to make a personalised notebook using LOKLiK Crafter and LOKLiK Workshop
What you need:
- LOKLiK Crafter (and mat)
- LOKLiKIdeaStudio (free download)
- LOKLiK Workshop (free resource www.loklikworkshop.com)
- Adhesive vinyl in assorted colours
- Clear transfer vinyl
- A plain notebook
- Scissors
Instructions:
- This time instead of using one of the free motifs that are in the LOKLiKIdeaStudio, I imported a design from LOKLiK Workshop. This is a free resource that you can download from www.loklikworkshop.com. It’s perfect if you don’t have time to create a design from scratch, as the whole design is pre-made. All you need to do is download it then upload it to LOKLiKIdeaStudio to cut it out.
2. I wanted to create a personalised notebook for a handmade birthday present as it’s an easy gift to send in the post. I chose one that measures 5-inch x 8.5-inches.
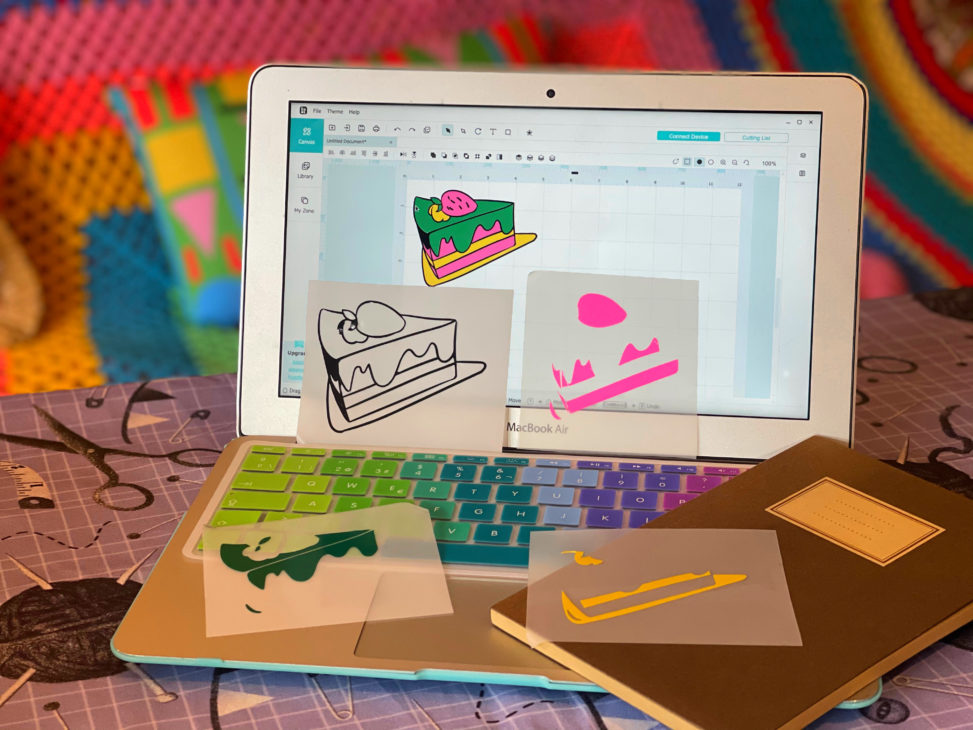
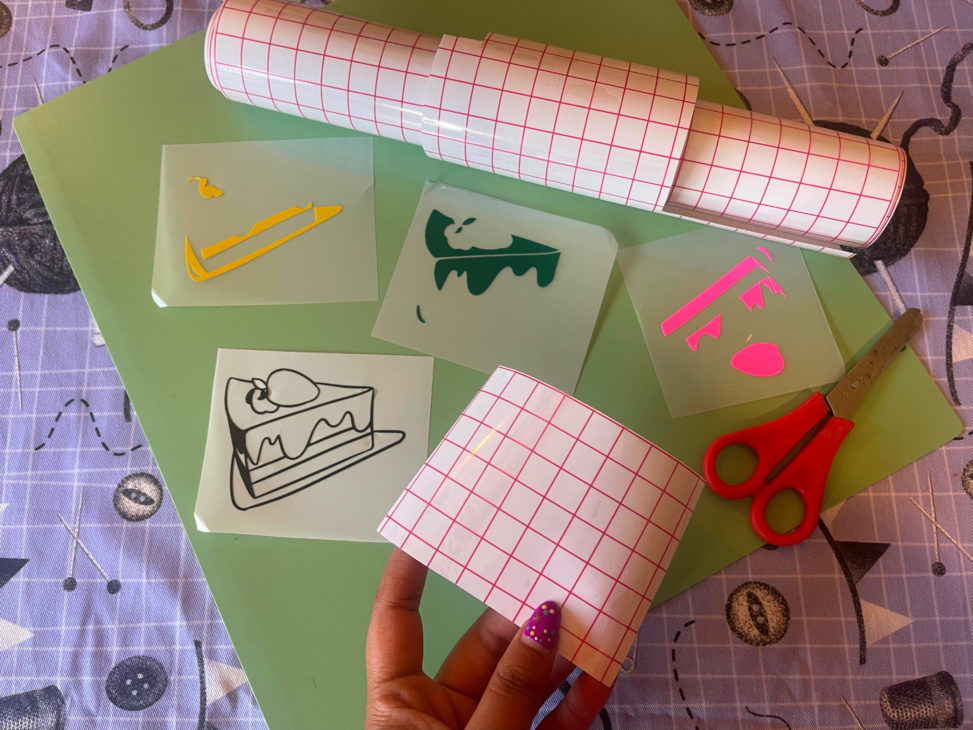
3. First, I re-sized my chosen design to make it fit on the notebook. Then I separated the layers in LOKLiK studio. This helps you separate the colours so you can work out how much of each vinyl you need. I cut each coloured layer separately as before, then peeled away the backing, and weeded as needed.
4. To help all the layers match up correctly, you’ll need to use vinyl transfer. Cut a piece that measures the same size as your design. One by one, stick down each layer (I started with pink), peel off the backing and then stick on the next layers.
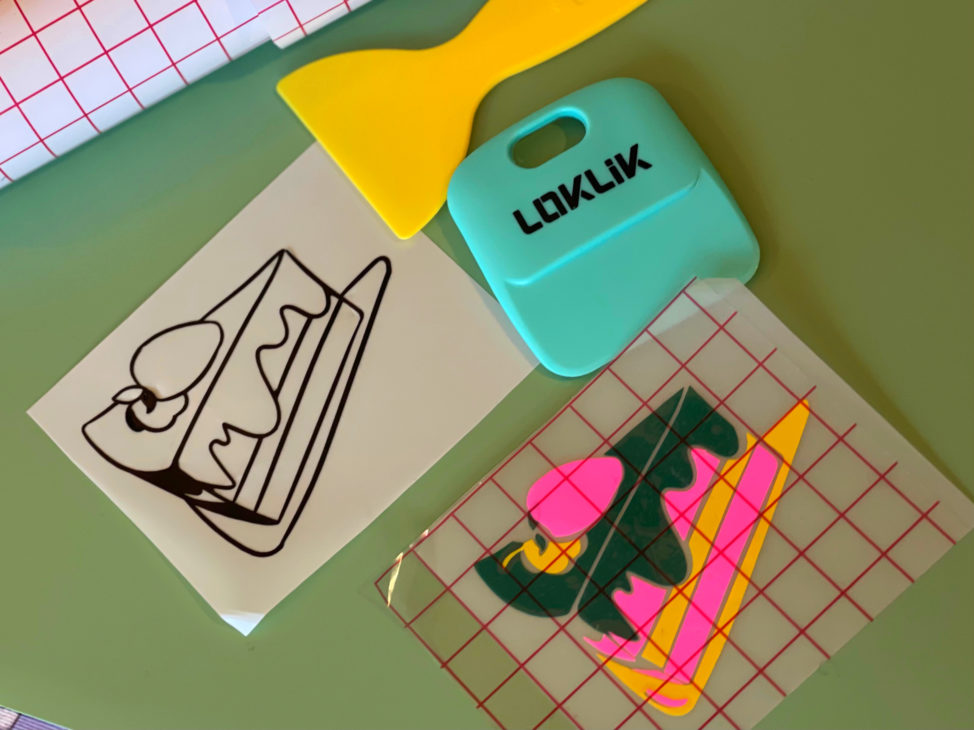
5. I followed the pink layer with yellow, then green and finally the black outline.
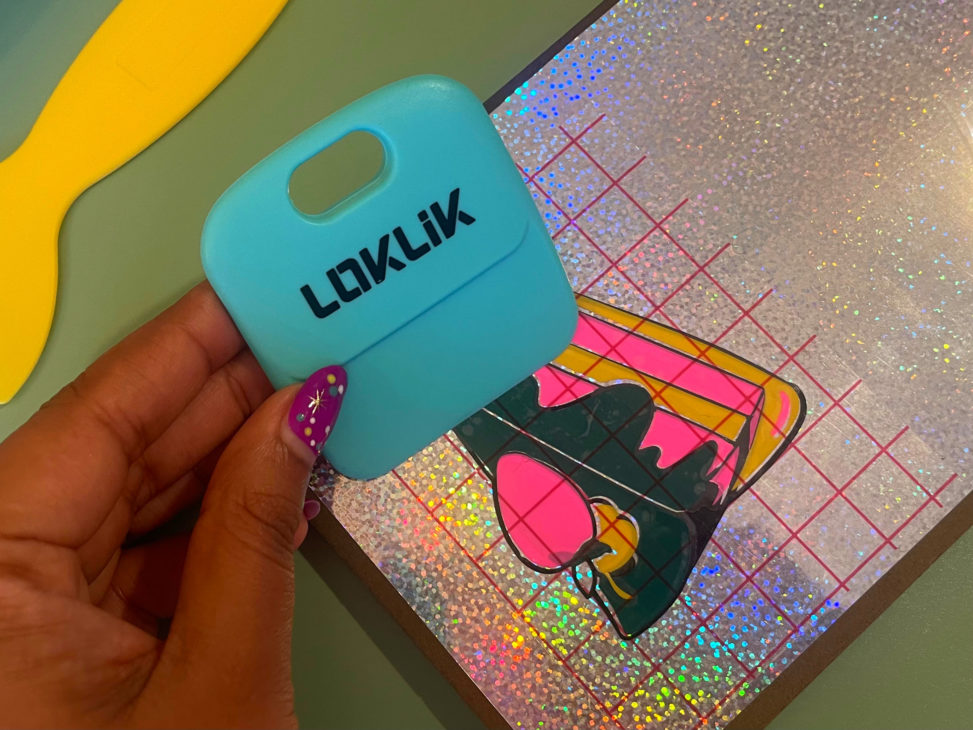
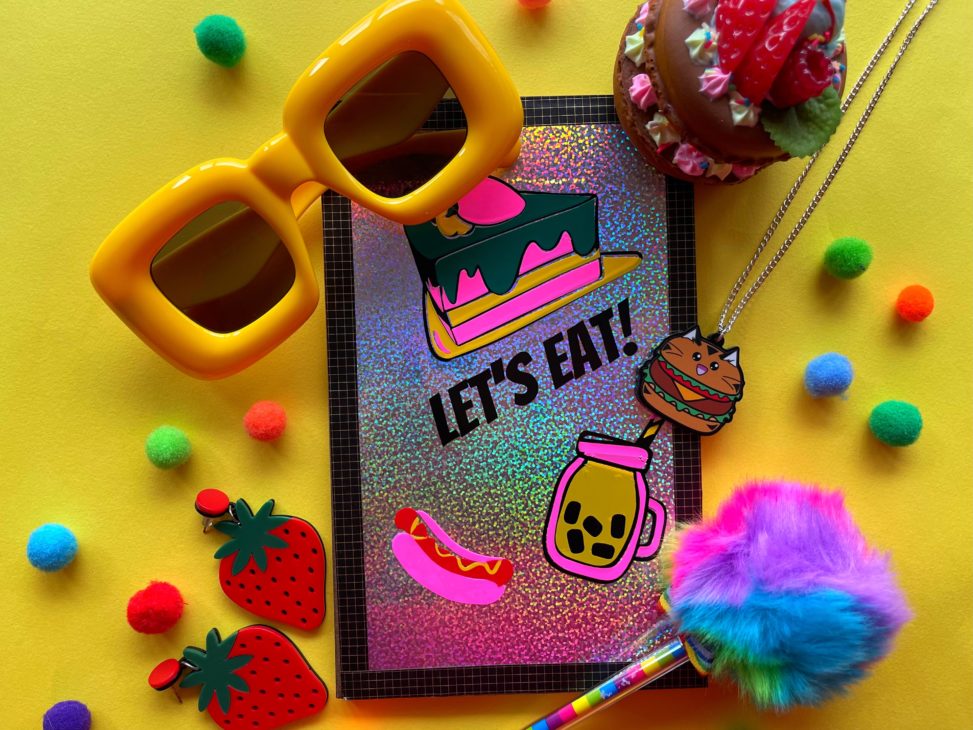
6. Finally, I transferred the whole design onto the notebook. (I covered the book with holographic vinyl first.) Then in exactly the same way as my cake slice, I made more layered food stickers, added them to the notecbook and also cut out words that say Let’s Eat! The perfect gift for a friend who loves food!
Other ideas for DIY colourful crafts and gifts using a LOKLiK Crafter
We all know a friend or family member that’s tricky to buy presents for. Making them a personalised gift like this notebook is perfect. Here are some other ideas for gifts you can make with your Crafter:
- Personalised mug
- Decorative phone case
- A tin filled with homemade treats
- A voucher
Project 3 HOME & INTERIORS: Upcycling furniture with LOKLiK Crafter
What you need:
- LOKLiK Crafter (and craft matt)
- LOKLiKIdeaStudio (plus any other digital design apps you like, like Canva)
- Assorted colours of permanent vinyl
- A wooden stall to upcycle
Instructions:
Preparing to upcycle a wooden stall
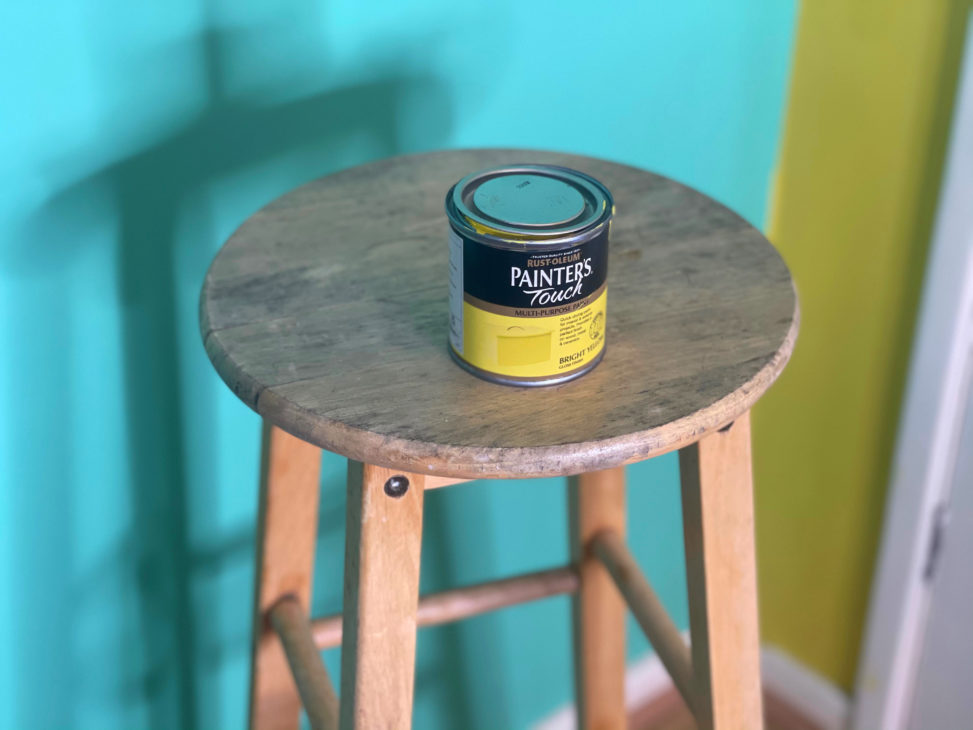
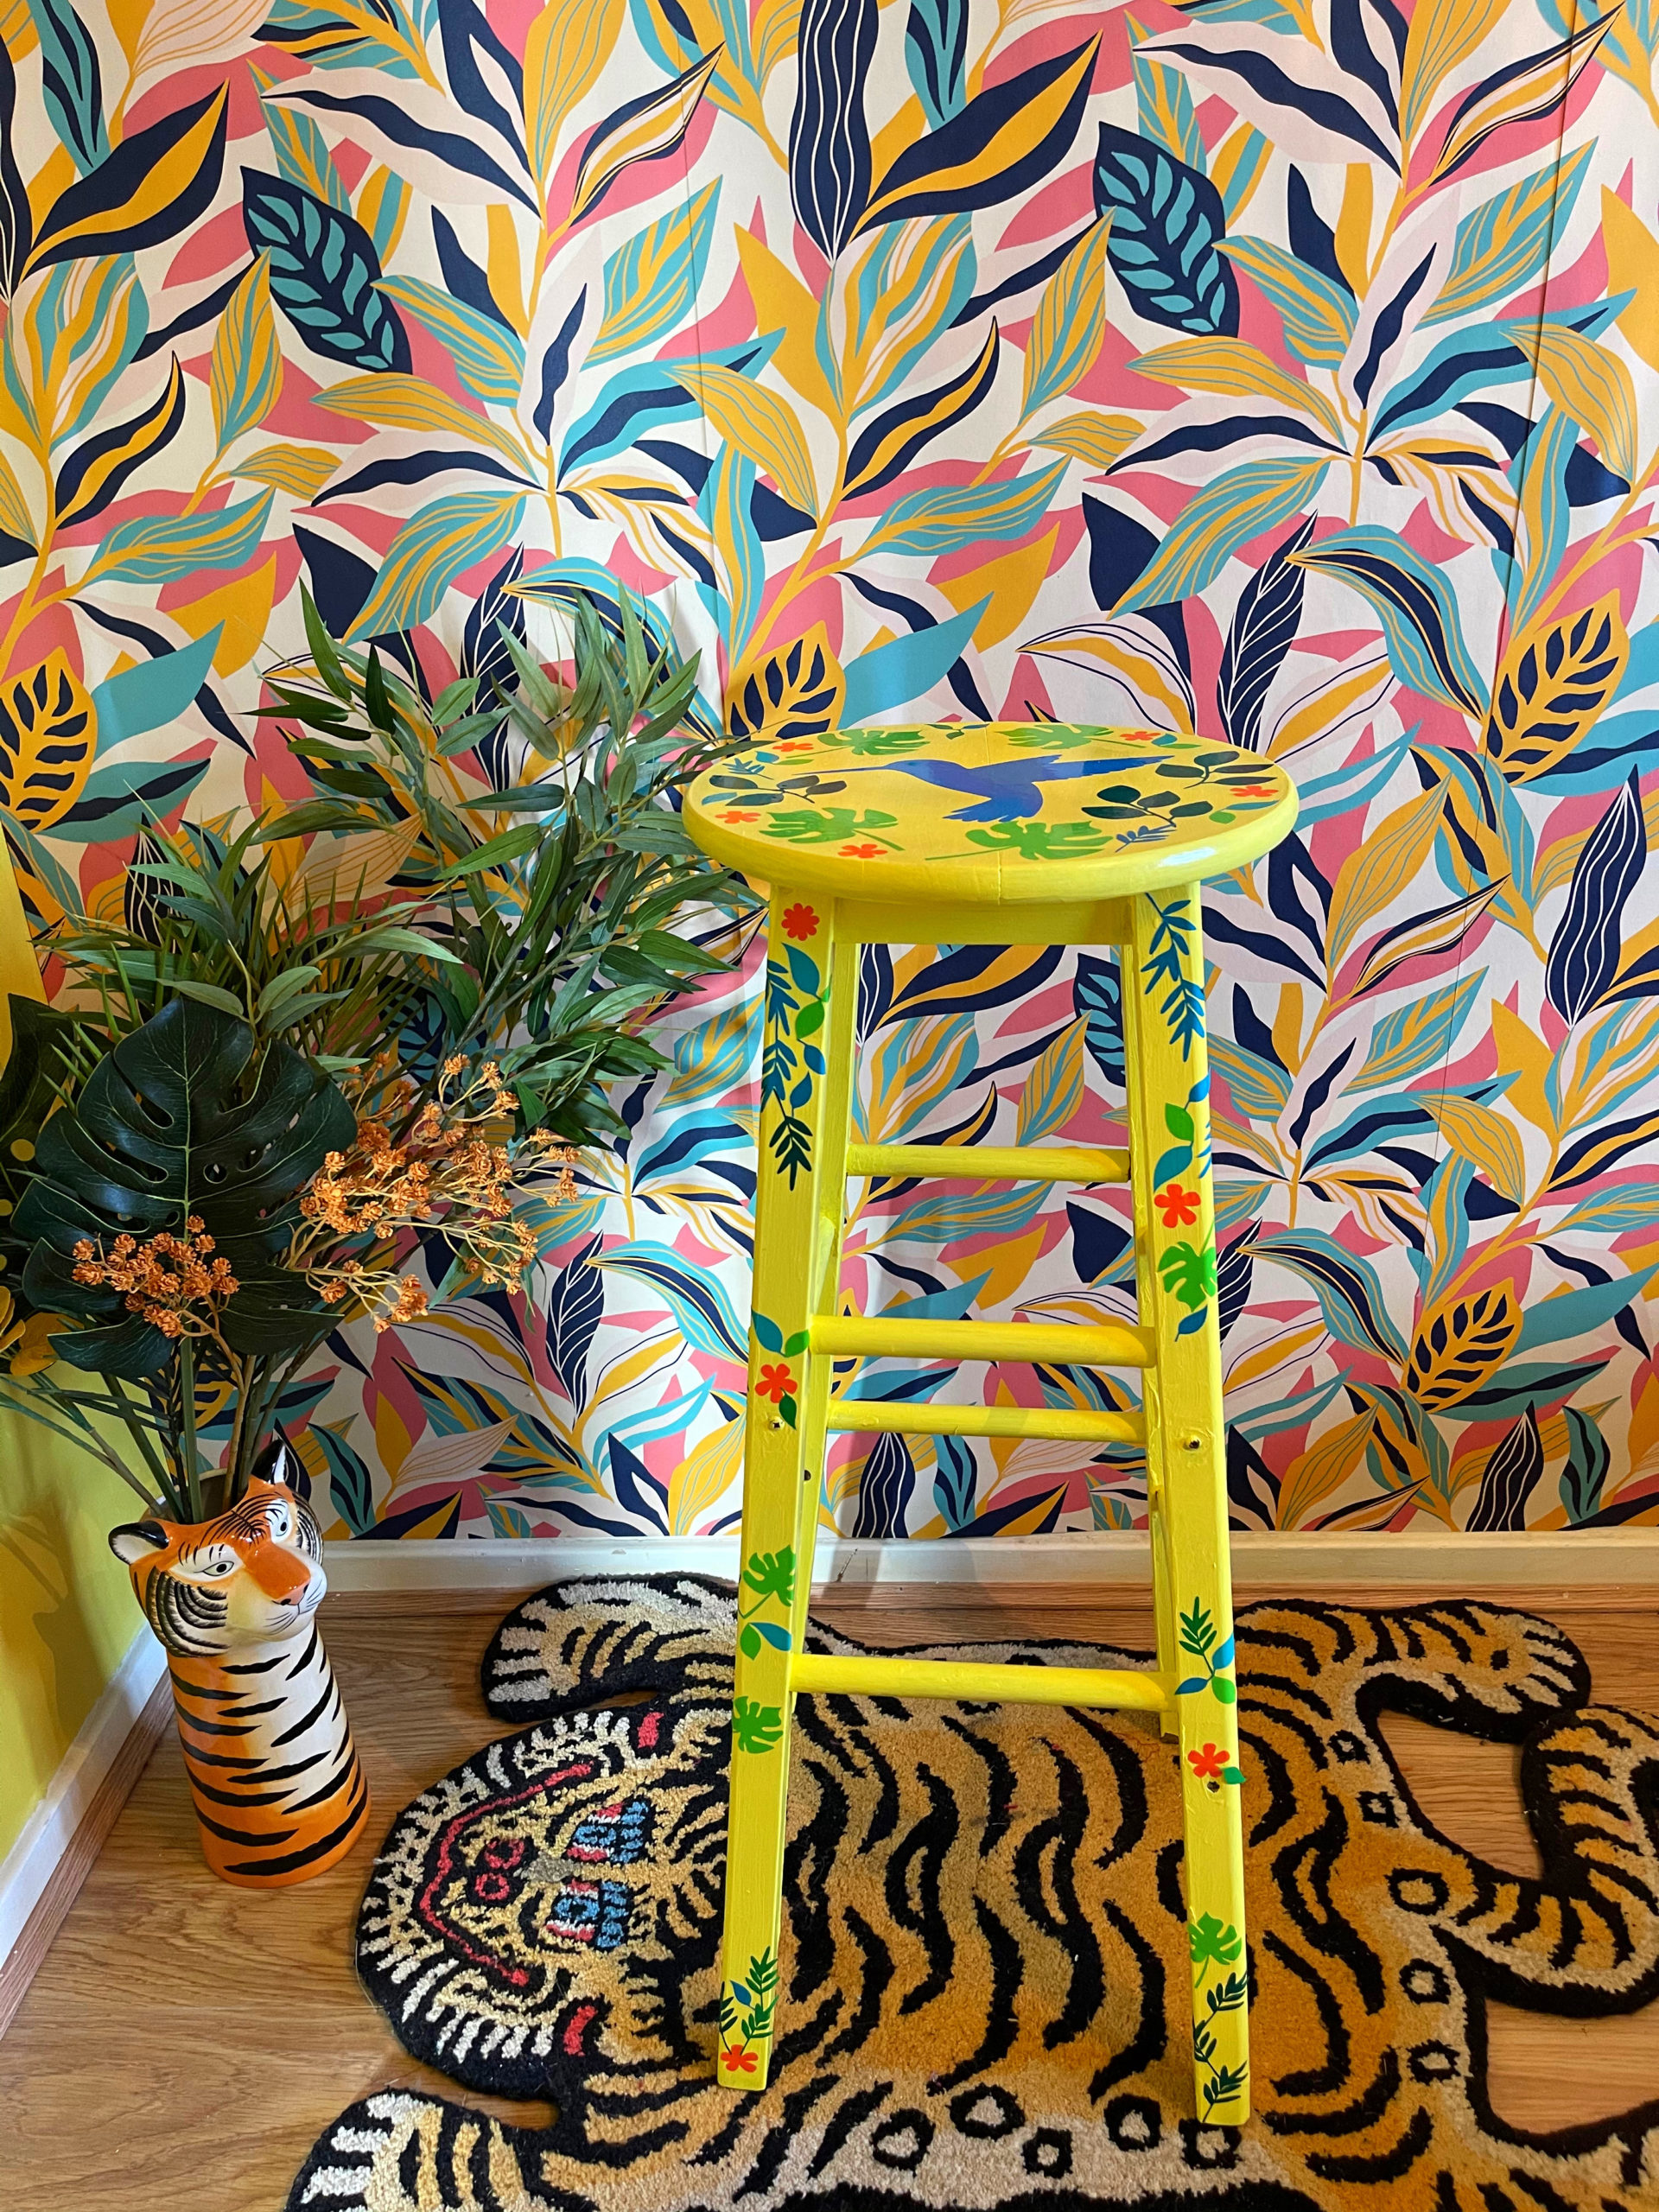
- I found this wooden stall on the street thrown away by one of my neighbours. I decided to take it home and give it a new lease of life.
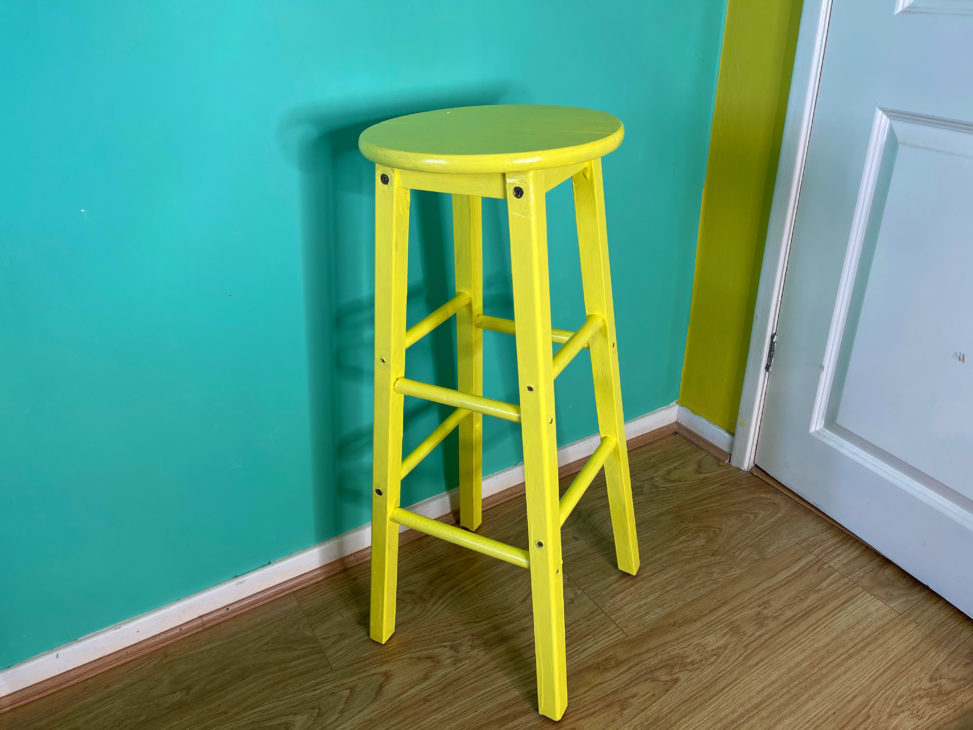
I started by painting it yellow using a paint that’s suitable for wood.
Creating my design
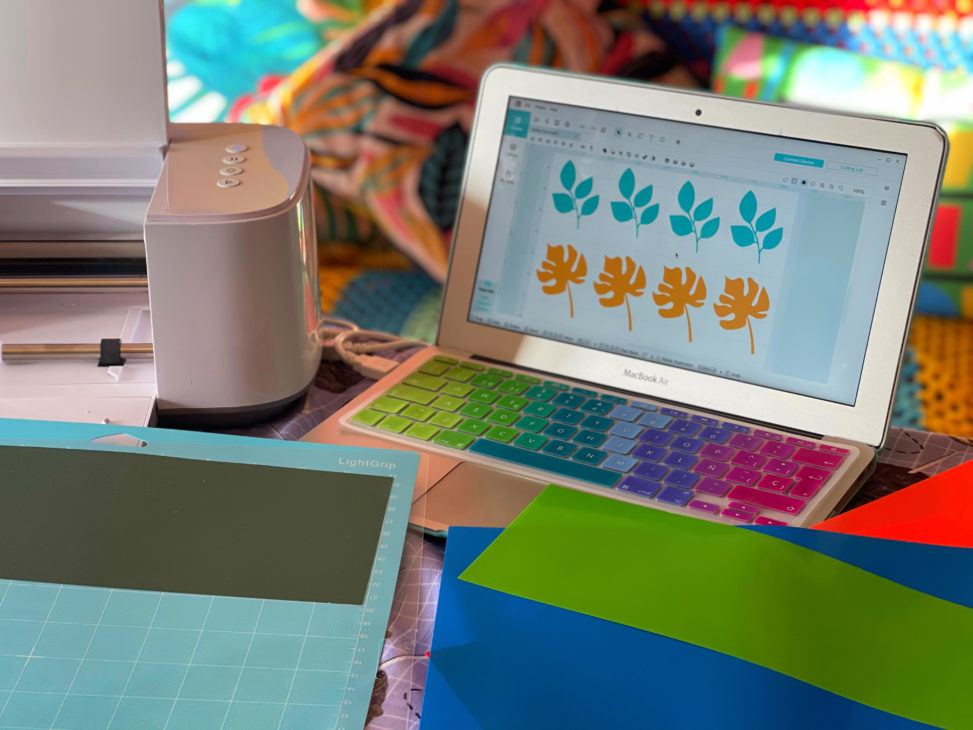
2. The theme for my stall is nature. For the seat, I was drawn to images of birds and leaves. I gathered together motifs in the LOKLiKIdeaStudio and I mixed these up with some additional designs that I found in Canva which is my favourite graphic design software. You can import any image you want into the IdeaStudio whether it’s an image you’ve created on an iPad or on an app like Canva, as long as you download it as a .SVG file.
Cutting out my designs

3. After choosing each image and deciding how many I needed and in what colours, I cut them out on my Crafter then weeded each one.
TOP TIP: Be patient. If you have a lot of peeling and weeding to do, take breaks. If you accidently weed the wrong section, you could damage your design and may need to start again.
The final result
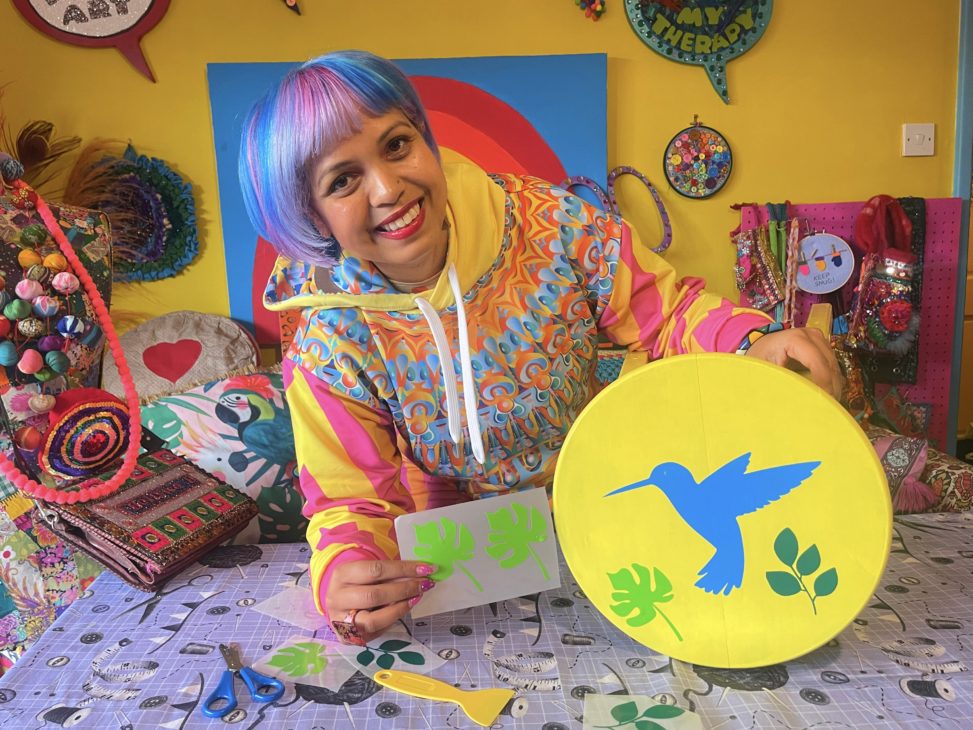
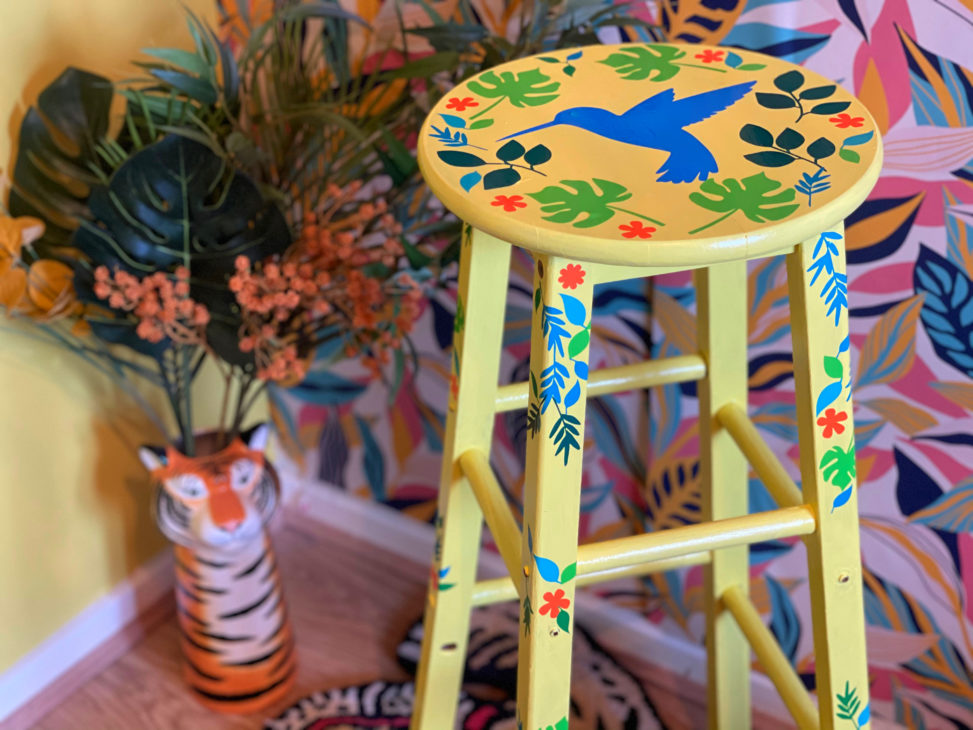
4. I stuck each piece on in an organic way, I didn’t plan it too much, just went with the flow of having the hummingbird in the centre of the seat with leaves and flowers all around.
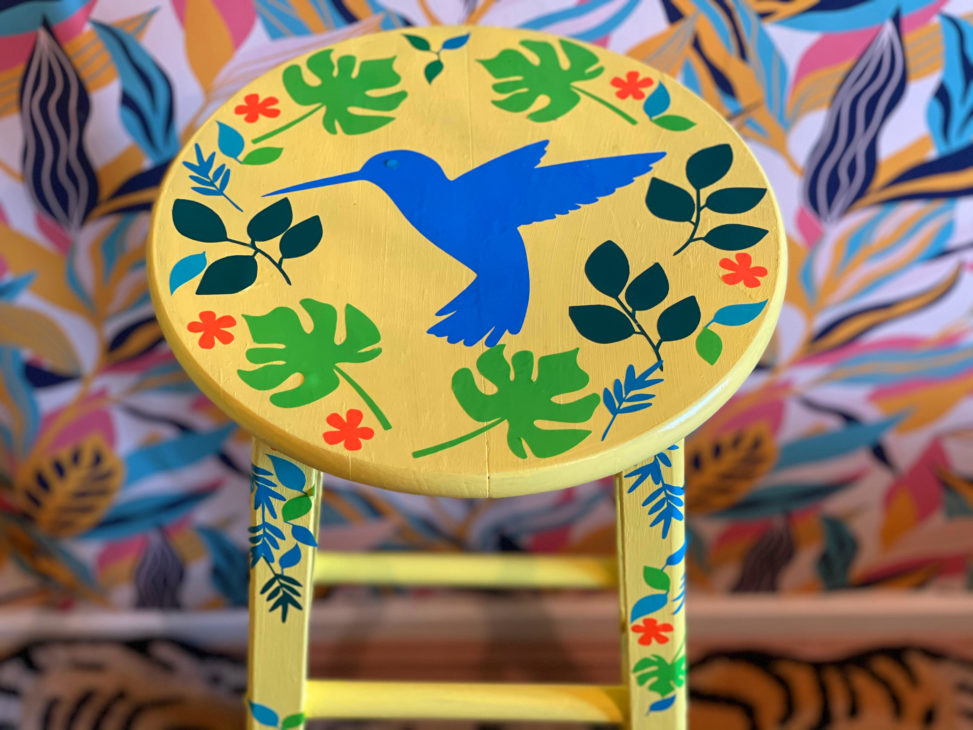
I’m thrilled with my upcycled stall, it looks like a colourful designer piece of furniture. The vinyl is waterproof so you can wipe it down for cleaning and as it’s permanent it won’t come off, but you can add a layer of clear varnish on top if you wish.
Other ideas for DIY colourful crafts home projects using a LOKLiK Crafter
You can use vinyl on so many different surfaces. Here are some other colourful DIY craft ideas for your home:
- Decorate a plant pot
- Make labels for jars
- Add motivational words and shapes to a mirror
- Personalise storage boxes
Have fun making your own colourful DIY crafts
https://www.instagram.com/reel/C1C1Pf2o0tu/I hope you like the colourful DIY crafts projects I made with my LOKLiK Crafter. There are so many fun crafts you can make with a cutting machine, whether it’s for a hobby, making personalised gifts, or selling your own designs, perhaps on a website like Etsy or at a local market stall.
Let me know if you try any of these projects and follow me on Instagram for more inspiration on how to live a creative, colourful, crafty life.
Find out more about LOKLiK at www.loklik.com.
*This is a sponsored post, all views are my own.